
Migration from cPanel
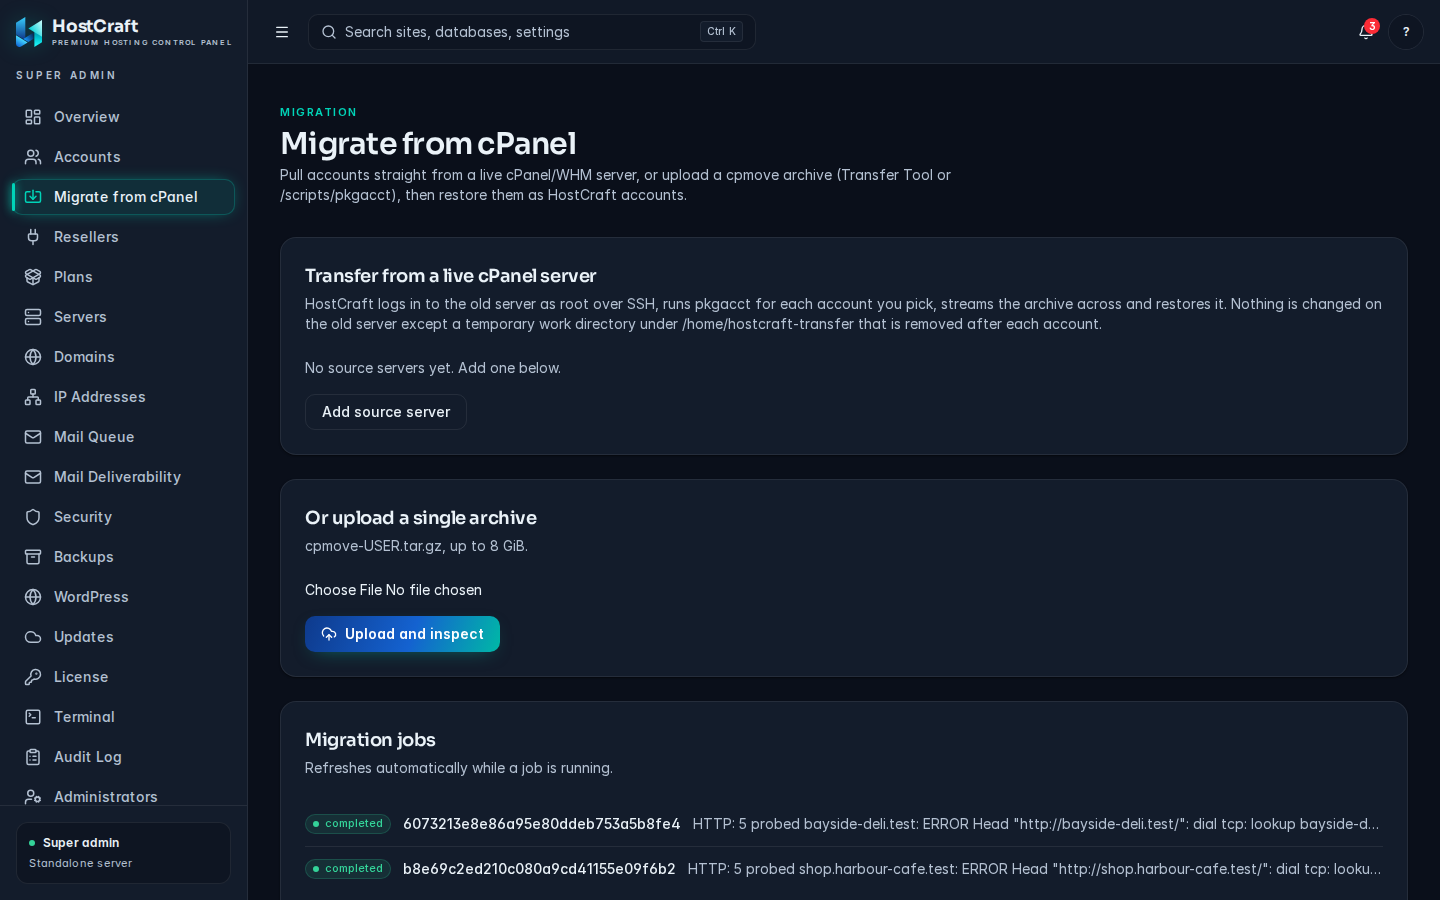
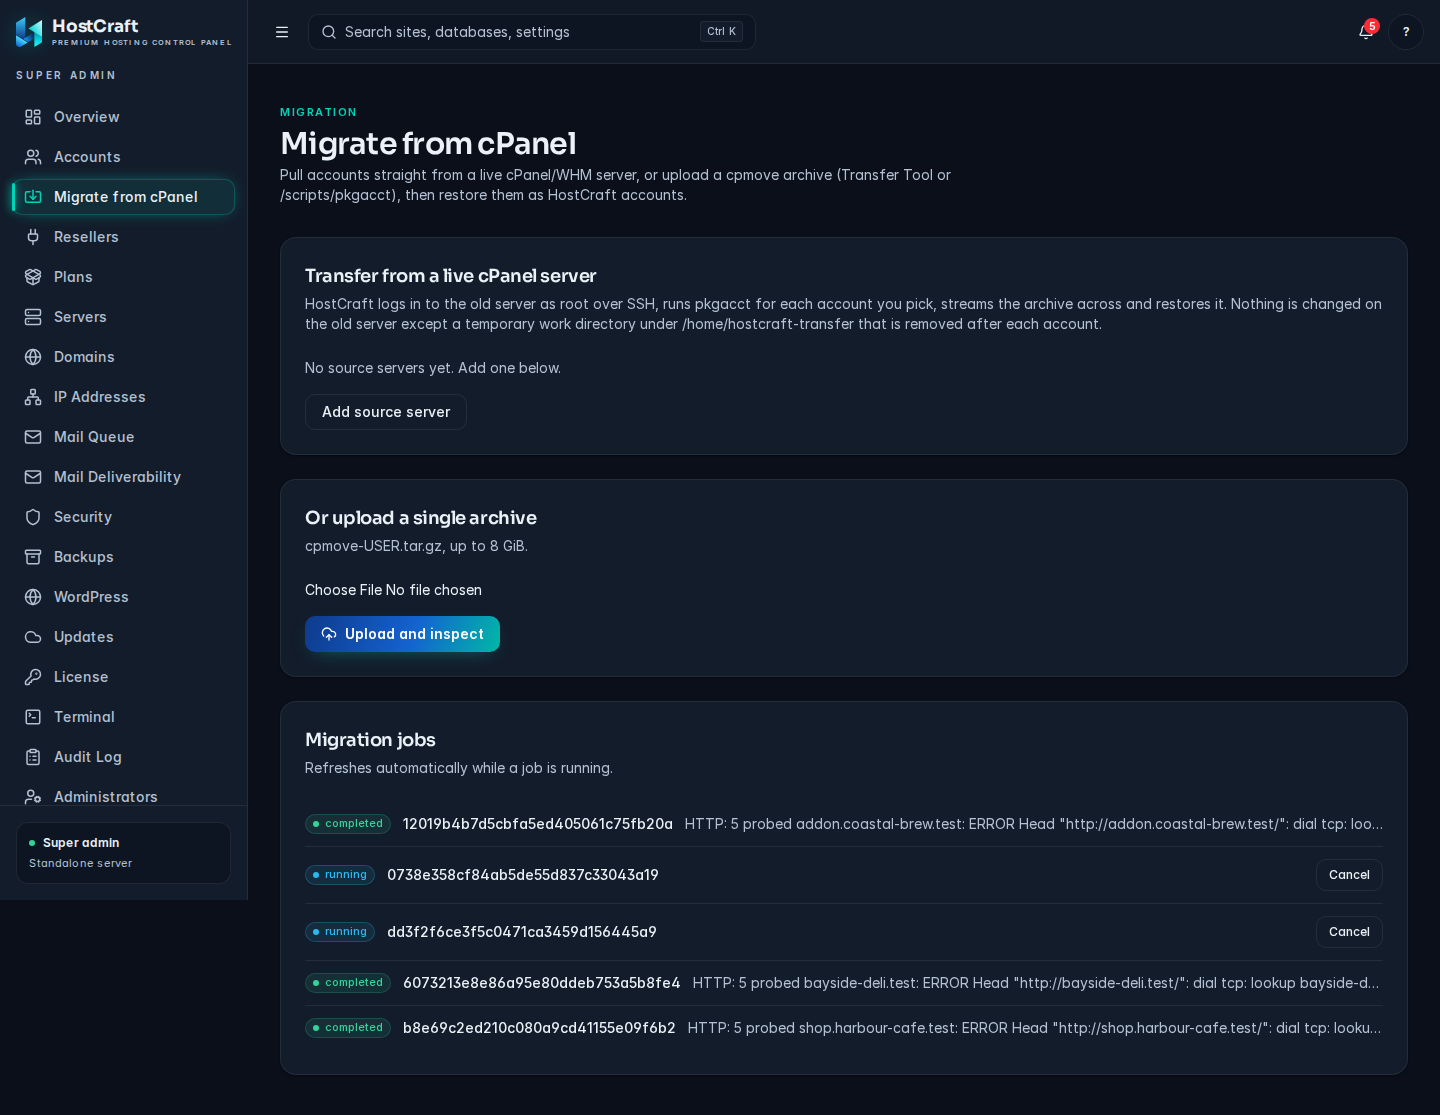
Open Migrate from cPanel in the admin sidebar. There are two ways to bring accounts across:
- Transfer from a live cPanel server: HostCraft connects to the old server over SSH, packages each account you pick, copies it across and restores it. Best for moving many accounts.
- Upload a single archive: upload a
cpmove-USER.tar.gzmade by the WHM Transfer Tool or/scripts/pkgacct. Best for one-off accounts or when HostCraft cannot reach the old server.
Who can do this: server admins and super admins. Running cPanel imports is blocked while the license is in the Restricted state, and each restored account counts toward your account cap.
For background on what is mapped from cPanel and the known edge cases, read Migrating from cPanel. For the per-site cutover checklist, see the cPanel cutover runbook.
Before you start
Section titled “Before you start”- Create the plans you want migrated accounts to use (or plan to keep the cPanel package limits).
- Create a reseller for each WHM reseller whose accounts you are moving, using the WHM reseller's username as the reseller ID. Migrated accounts are then matched to that reseller automatically.
- Add the IP addresses you will use under IP Addresses if accounts need dedicated IPs.
- Lower the DNS TTL on the old server's zones a day ahead, so the final DNS switch takes effect quickly.
Transfer from a live cPanel server
Section titled “Transfer from a live cPanel server”HostCraft logs in to the old server as root over SSH, runs pkgacct for each account you pick, streams the archive across and restores it. Nothing is changed on the old server except a temporary work directory under /home/hostcraft-transfer, which is removed after each account.
1. Add the source server
Section titled “1. Add the source server”- Click Add source server.
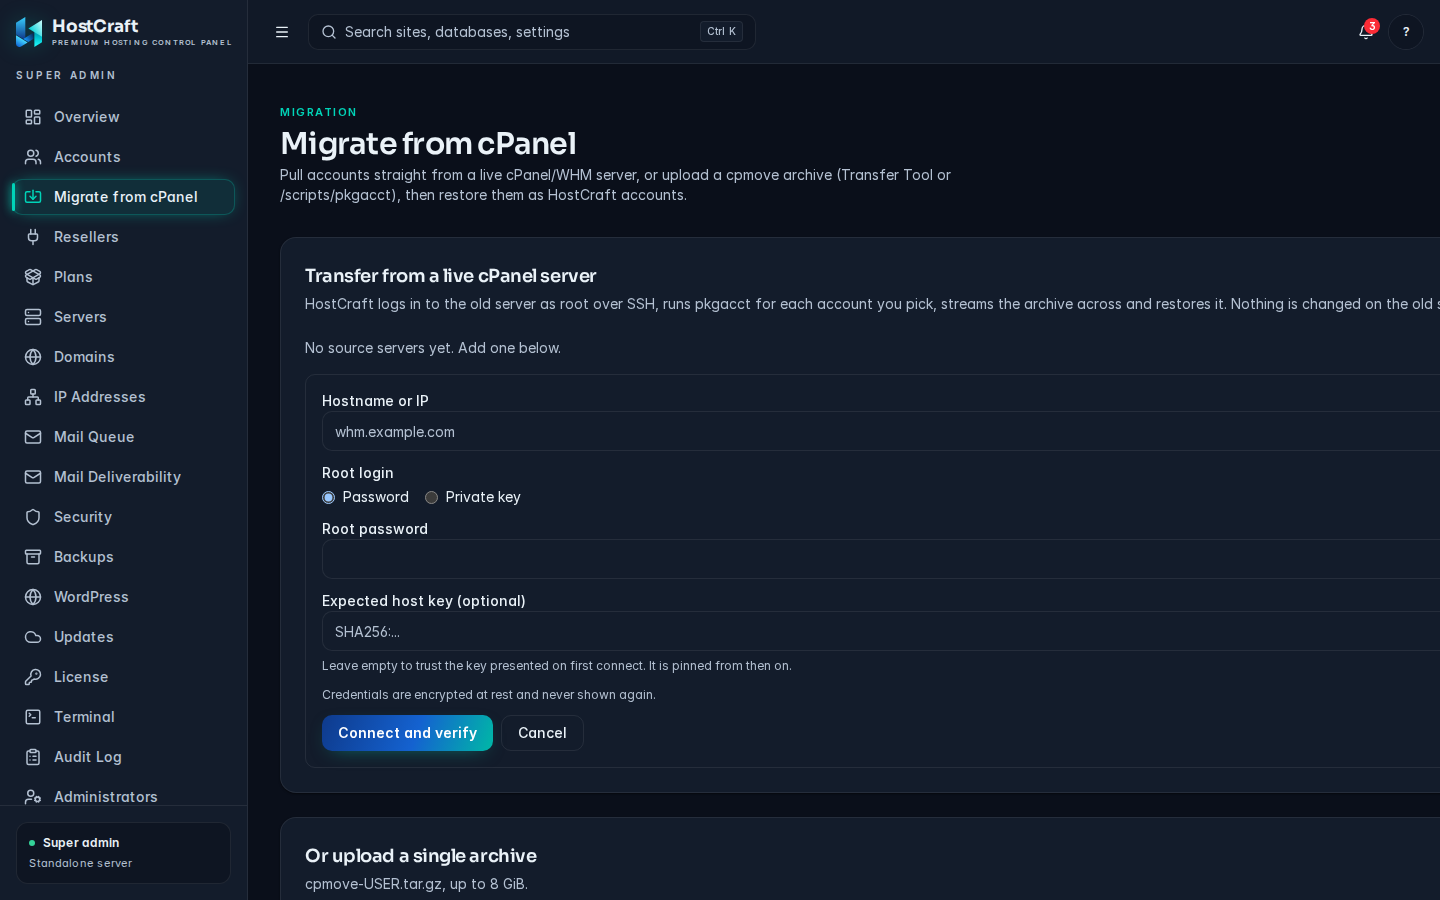
- Hostname or IP, SSH port (default 22) and an optional Label such as "Old cPanel server".
- Root login: choose Password and enter the Root password, or Private key and paste the Private key (OpenSSH or PEM) with its Key passphrase (if any).
- Expected host key (optional): the server's SSH host key fingerprint (
SHA256:...). Leave it empty to trust the key presented on first connect. It is pinned from then on. - WHM API token (optional): lets HostCraft list accounts through the WHM API on port 2087. Without it, accounts are listed over SSH. If WHM still uses its self-signed certificate, tick The WHM service still uses its self-signed certificate (skip certificate verification).
- Click Connect and verify.
Credentials are encrypted at rest and never shown again. On success you see "Connected to <host>. Host key <fingerprint> is now pinned."
Each source row shows the login method, a verified or check failed badge and the pinned host key, with buttons:
- Choose accounts: select this source.
- Test: check the connection again.
- The bin icon: remove the source, its stored credentials and its batch history.
If the old server's host key changes (for example after a reinstall), the check fails with a host key error and a box appears. Verify the new fingerprint on the old server with ssh-keygen -lf, paste it and click Trust new host key.
2. Choose accounts and start the transfer
Section titled “2. Choose accounts and start the transfer”- Click Choose accounts on the source. The table lists each cPanel account with User, Domain, Owner, Package and Disk. Suspended accounts are marked.
- Use Filter by user, domain or owner, then tick accounts, or click Select all (or Select shown when filtered). Clear empties the selection. The bar shows how many are selected and their size on disk.
- Accounts at once: how many accounts to package and restore in parallel (1 to 8). Higher is faster but loads both servers more.
- Hosting plan: leave Match the cPanel package name, else default to match each account's cPanel package to a HostCraft plan with the same name, or choose one plan for all of them.
- Reseller: leave No reseller (server admin owned) or choose a reseller for all selected accounts.
- Include: untick anything you do not want brought across: Mailboxes, Databases, DNS zones, SSL certificates, Cron jobs, FTP accounts. Tick Reissue SSL via Let's Encrypt to issue fresh certificates instead of copying the old ones.
- Click Start transfer of N accounts.
Accounts whose username already exists on HostCraft fail with a clear message. Resolve the conflict and retry them.
3. Watch the batch
Section titled “3. Watch the batch”Transfer batches lists each batch with its status and "N of M completed". Click Details to open Batch progress, which lists each account with its state:
| State | Meaning |
|---|---|
| queued | Waiting for a free slot. |
| packaging | pkgacct is running on the old server. |
| downloading | The archive is being copied across. |
| restoring | HostCraft is recreating the account. |
| completed | Restored. |
| failed | Shows the error. Click Retry after fixing the cause. |
| cancelled | Stopped by Cancel batch. Click Retry to run it again. |
Cancel batch stops queued accounts; accounts already restoring finish.
4. Run the final sync, then switch DNS
Section titled “4. Run the final sync, then switch DNS”The bulk copy takes time, and customers keep using the old server meanwhile. Right before you switch DNS, run the final sync: it copies files and mail that changed on the old server since each account was packaged.
- Run final sync (N) syncs every completed account in the batch.
- Sync now on a row syncs one account.
Each account then shows synced with the time, or the sync error. You can run the sync more than once. After the last sync, switch DNS (or the nameservers) to HostCraft.
Upload a single archive
Section titled “Upload a single archive”- Under Or upload a single archive, choose a
cpmove-USER.tar.gzfile (up to 8 GiB). - Click Upload and inspect. A progress bar shows Uploading, then Inspecting archive.
- The 2. Review and restore card shows the account name and size, the number of Domains, Mailboxes and Databases, and the PHP versions used.
- Blockers: if any are listed, the restore cannot start until they are resolved.
- Hosting plan: the card shows the cPanel package and whether it matches a HostCraft plan. Choose a plan, or Keep cPanel package limits (no plan) to carry the package's disk, bandwidth, mailbox, database, addon domain, subdomain and FTP limits across as they are.
- Reseller: the card shows the WHM owner and whether it matches a HostCraft reseller. If the owner is a reseller that does not exist yet, create a reseller with that ID on the Resellers page first to keep the account in its pool. Otherwise choose No reseller (server admin owned).
- IP addresses: map each source IP to an address on this server. A free address becomes a dedicated IP (the first row, marked main, is the account's main IP), and DNS records move to the mapped address. Leave Keep source records unchanged to keep records pointing at the old server.
- Include: the same options as the live transfer.
- Click Start migration.
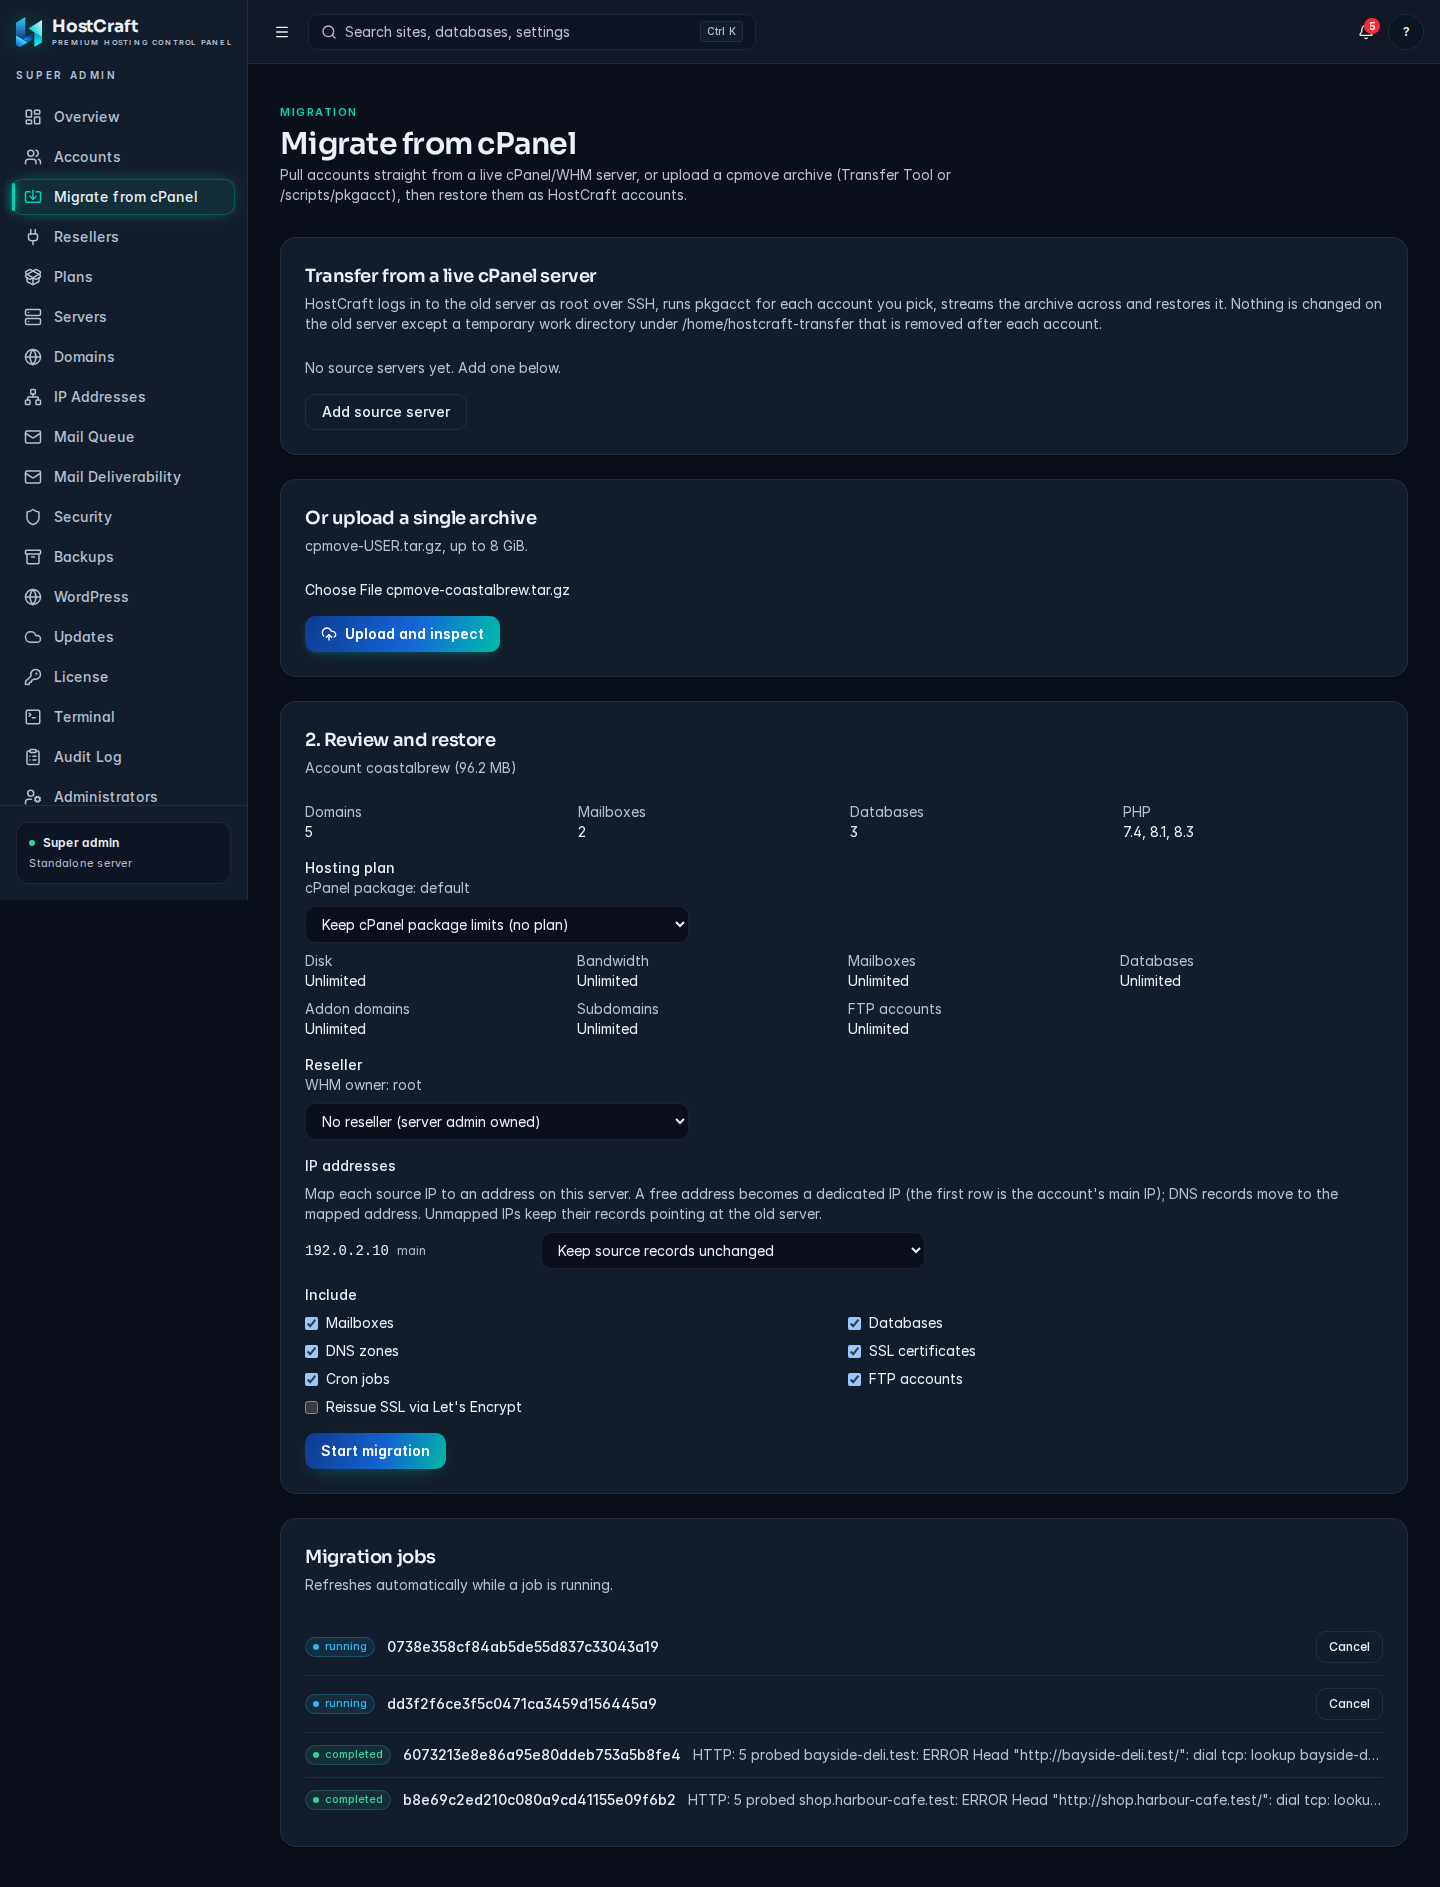
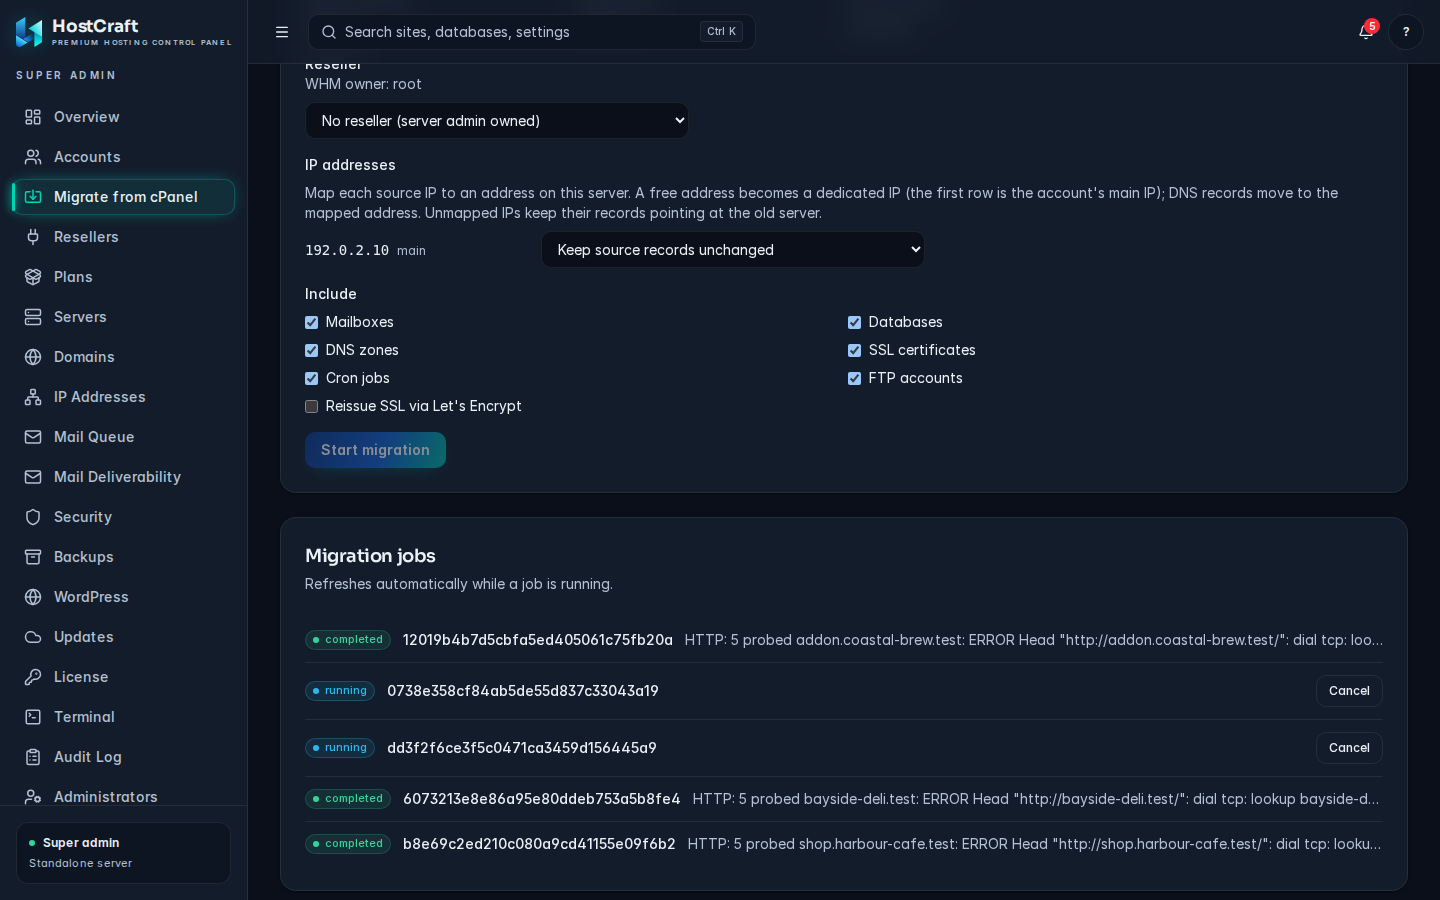
Migration jobs lists every upload restore with its state (uploaded, probing, ready, running, validating, completed, failed or compensated) and summary or error. It refreshes while a job runs. Click Cancel to stop a running job; the restore workflow rolls back what it created (state compensated).
Common migration errors
Section titled “Common migration errors”| Message or state | Fix |
|---|---|
| "Choose a cpmove archive first." | Select a file before clicking Upload and inspect. |
| "Upload or inspection failed: ..." | The file is not a valid cpmove archive, is over 8 GiB, or the upload was interrupted. Re-create it with /scripts/pkgacct USER and try again. |
| Start migration greyed out | The archive has blockers. Fix them on the source and package the account again. |
| "Could not add source: ..." | Check the hostname, port, root credentials and that SSH root login is allowed on the old server. |
| check failed with a host key message | The old server's host key changed. Verify it and use Trust new host key. |
| An account fails because the username exists | An account with that name is already on HostCraft. Delete or rename the conflicting account, then Retry. |
| License error | You reached your account cap, or the license is Restricted. See Updates and license. |