
HostCraft ships a full email stack: Postfix for SMTP, Dovecot for IMAP/POP3, Rspamd for spam filtering, and SnappyMail for webmail. The panel manages all configuration through the configwriter pattern; operators do not edit Postfix or Dovecot configs directly.
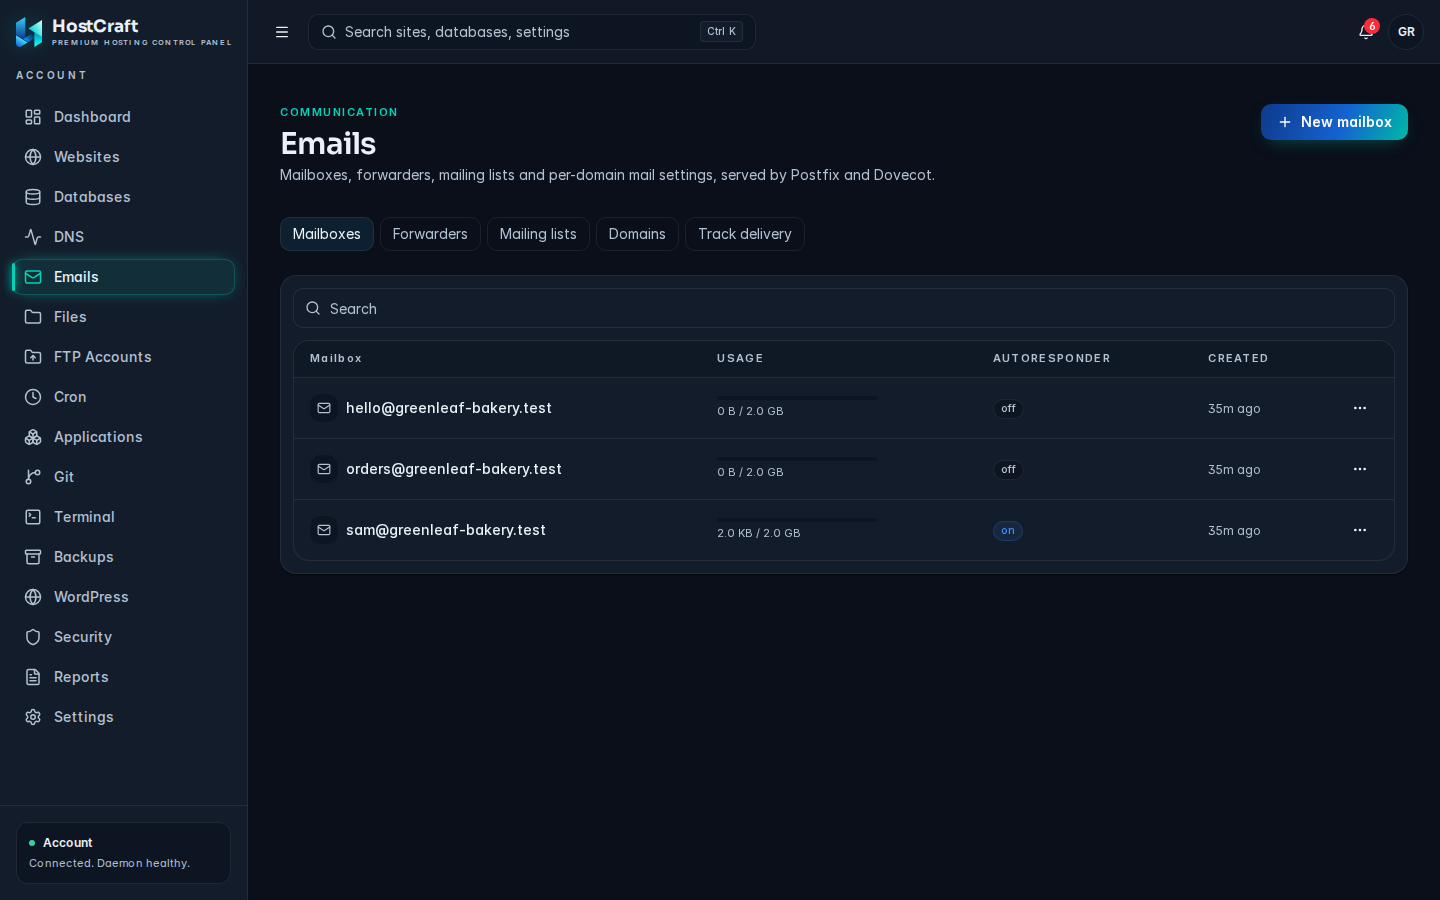
Mailboxes, forwarders and domains are managed from the account Emails page.
Required DNS records
Section titled “Required DNS records”Four record types are required for every domain that sends or receives mail on HostCraft. When you enable mail for a domain, the panel publishes these automatically if you use the HostCraft PowerDNS backend. For external DNS providers, copy the values from Mail -> DNS Records.
# MX: direct inbound mail to your server@             MX 10  mail.<domain>.
# SPF: authorise your server to send from this domain@             TXT    "v=spf1 mx ~all"
# DKIM: cryptographic signing (selector format: hostcraftYYYYMM)hostcraft202501._domainkey  TXT  "v=DKIM1; k=rsa; p=<base64-public-key>"
# DMARC: policy for unauthenticated mail_dmarc        TXT    "v=DMARC1; p=quarantine; rua=mailto:dmarc@<domain>"
The panel checks each record against a live DNS lookup on a 6-hour ticker and shows a per-record green/amber/red indicator in Mail -> DNS Status.
Start with ~all (softfail) during cutover. After a week of clean SPF alignment, the panel offers a one-click upgrade to -all (hardfail). If the domain also sends through a third-party service:
v=spf1 include:_spf.mailchimp.com mx ~allDMARC ramp
Section titled “DMARC ramp”Start at p=none to collect aggregate reports without any enforcement. Move to p=quarantine after a clean week, then to p=reject once SPF, DKIM, and DMARC reports have been green for at least two weeks. The panel guides you through this ramp in Mail -> DMARC.
The panel can ingest DMARC aggregate reports back into the dashboard via the mail.dmarc.reports toolkit. Configure the report mailbox under Mail -> DMARC -> Report ingestion.
DKIM key rotation
Section titled “DKIM key rotation”Selector convention
Section titled “Selector convention”HostCraft uses the selector format hostcraftYYYYMM (for example hostcraft202501). This makes it easy to identify when a key was issued and whether old selectors should be retired.
Rotation flow
Section titled “Rotation flow”- In the panel go to Mail -> DKIM -> Rotate.
- The panel generates a new 2048-bit RSA key with a new dated selector and publishes it to DNS (or shows the record to add if using external DNS).
- Wait for DNS propagation. The panel polls the authoritative nameserver and shows green when the new selector is visible.
- Click "Switch signing". Postfix now signs outbound mail with the new selector.
- Wait 48 hours. In-flight messages signed with the old key may still arrive at receivers during this window.
- Click "Retire old selector". The panel removes the old DNS record.
Both selectors remain in DNS and both are accepted by receivers during the dual-publish window. The panel surfaces a yellow banner if a rotation has been started but not completed.
Deliverability dashboard
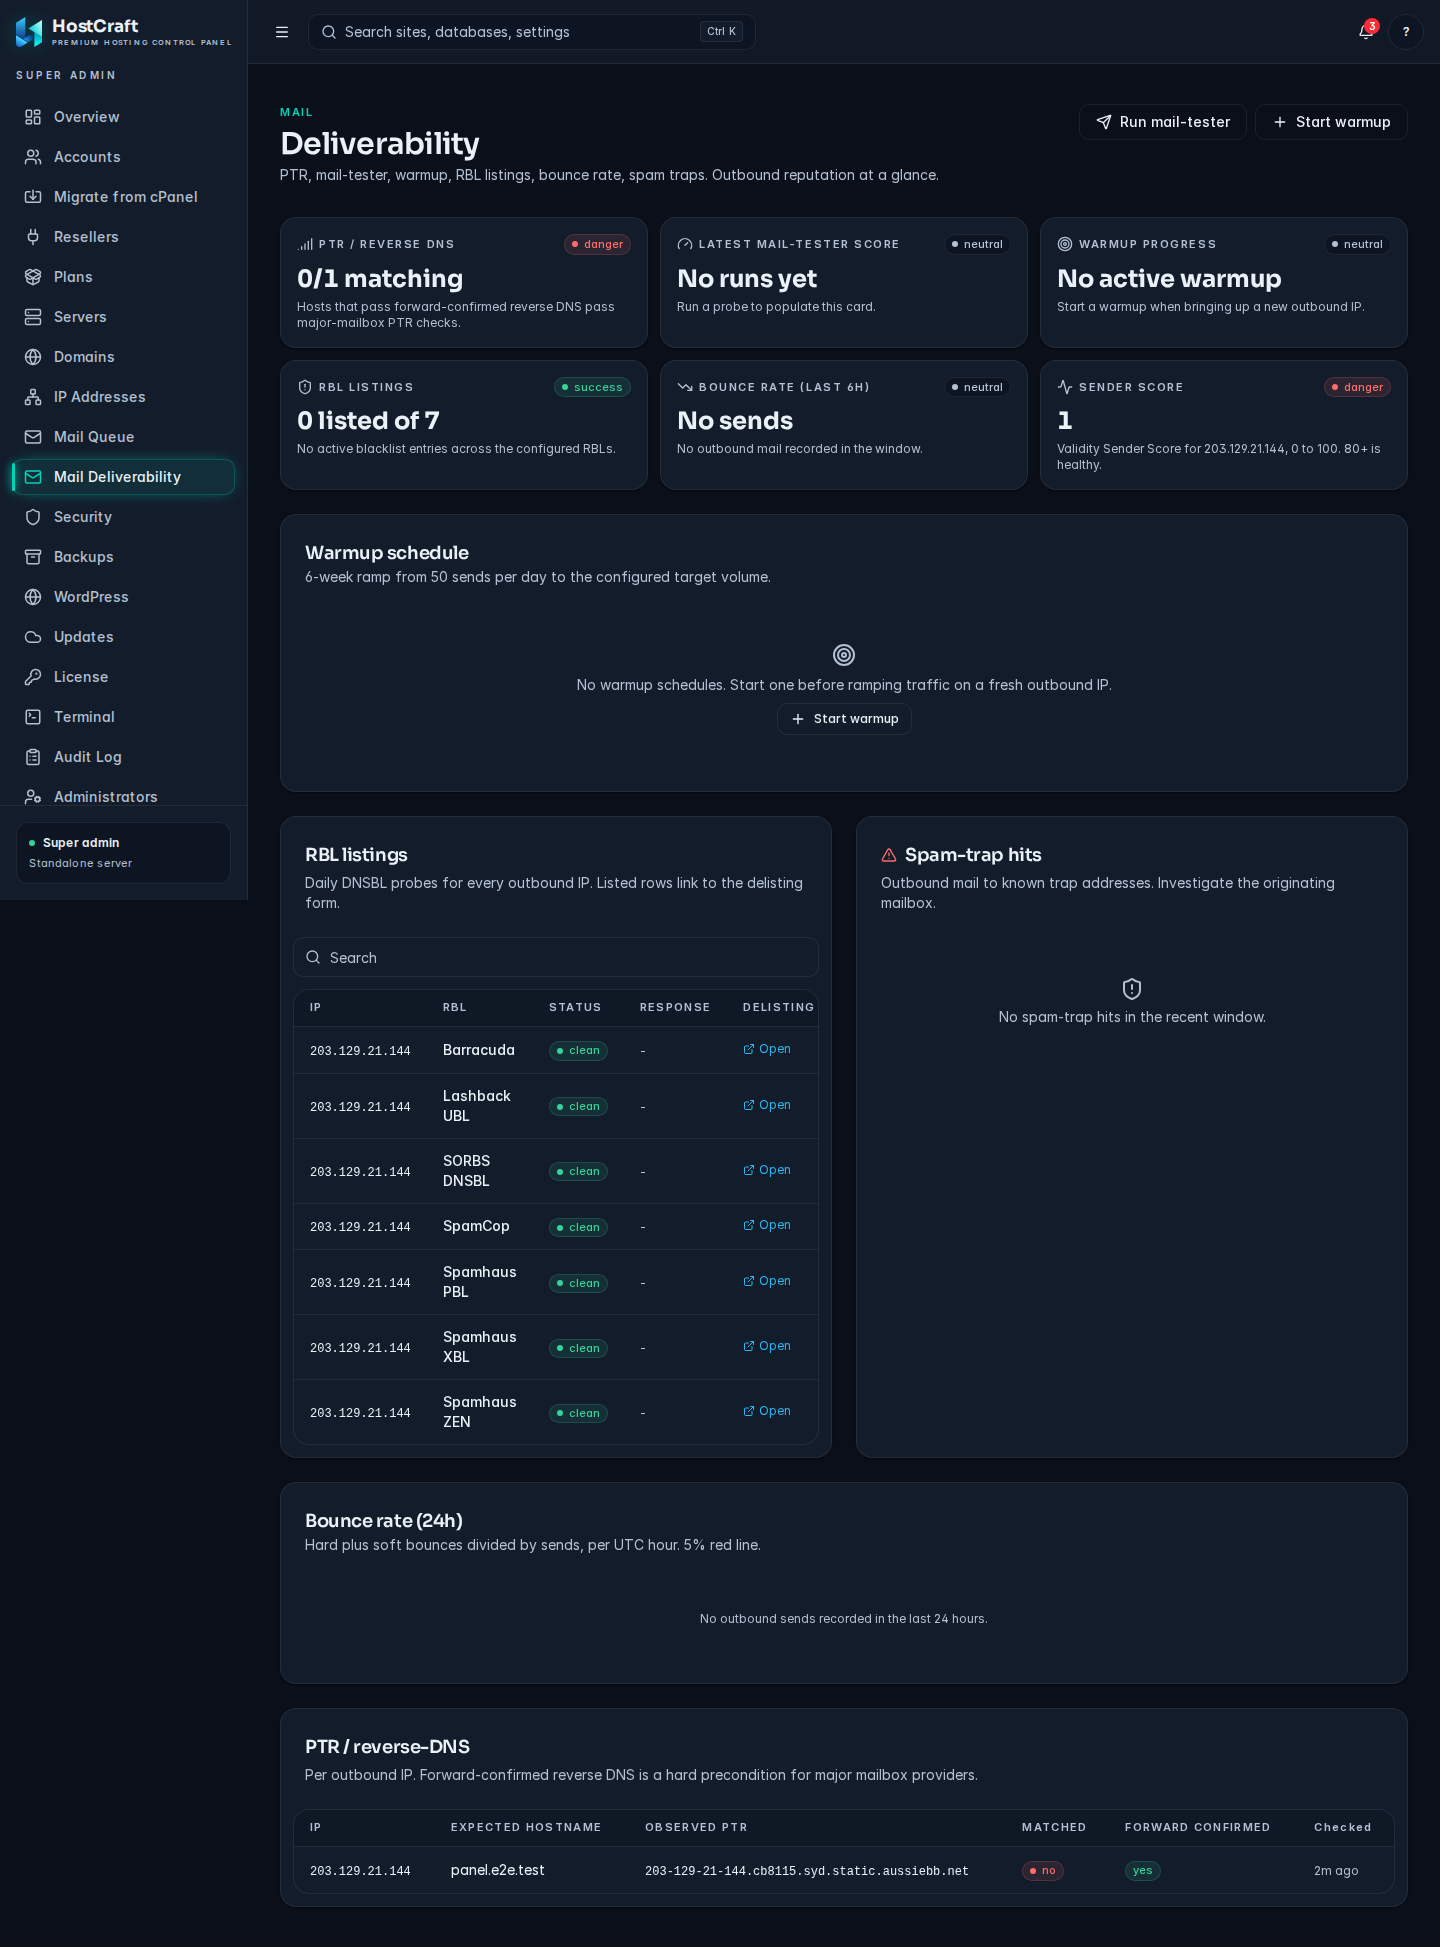
Section titled “Deliverability dashboard”The deliverability dashboard at /admin/mail/deliverability gives operators a centralised view of the server's sending health.
PTR check
Section titled “PTR check”The panel resolves the reverse DNS (PTR) of the server's outbound IP and checks that it matches the HELO banner HostCraft uses (mail.<panel-hostname>). If they do not match, a red indicator appears with the exact PTR value to set at your VM or ISP provider. PTR mismatch causes outright rejection at Gmail and Microsoft 365.
The PTR check runs on a 6-hour ticker.
Mail Tester score
Section titled “Mail Tester score”The panel submits a test message to mail-tester.com on a 24-hour schedule and surfaces the score (0-10). A score below 8 triggers a yellow alert with the failing checks listed.
IP warmup ramp
Section titled “IP warmup ramp”Fresh IP addresses are not trusted by large receivers. HostCraft enforces a 6-week warmup ramp for any IP that has not previously sent mail. The ramp caps outbound volume per day and increases each week:
| Week | Daily cap |
|---|---|
| 1 | 50 messages |
| 2 | 200 messages |
| 3 | 1,000 messages |
| 4 | 5,000 messages |
| 5 | 20,000 messages |
| 6 | 50,000 messages |
After week 6 the cap is lifted. The dashboard shows the current warmup week and today's send count against the cap. Messages queued beyond the cap are held and released the next day.
If you are migrating an existing IP with a good reputation, contact JCR support to bypass the warmup ramp. Attach documentation of the IP's previous sending history.
RBL monitoring
Section titled “RBL monitoring”Seven real-time blocklists are checked daily:
- Spamhaus ZEN (SBL, XBL, PBL combined)
- Spamhaus DBL
- Barracuda BRBL
- SORBS DNSBL
- MXToolbox Blacklist check
- URIBL
- Invaluement ivmSIP
A listing on any RBL fires a high-priority alert in the panel and an email to the server admin. The alert includes the RBL name, the listing reason (where the RBL provides it), and the delisting URL.
Recovery playbook:
- Identify the compromised account via the outbound monitor in the Security tab.
- Suspend the account to stop the mail flow.
- Clean the compromised site (use the Malware quarantine browser).
- Submit the delisting request through the RBL's form. Links are in the panel alert.
- After delisting, re-enable the account and monitor the bounce rate for 24 hours.
Bounce rate tracking
Section titled “Bounce rate tracking”The panel tracks the bounce rate (hard bounces / total sent) on a rolling 7-day window. If the bounce rate exceeds 5%, a red alert fires. High bounce rates indicate either a list hygiene problem or an IP reputation issue. Senders above the red line have their outbound volume throttled automatically until the rate falls below 2%.
Spam-trap detection
Section titled “Spam-trap detection”If Rspamd or an external FBL (feedback loop) reports a message hit a spam trap, the panel records the event and escalates the source account's bounce-rate threshold. Three spam-trap hits in a week trigger an automatic account review.
Sender Score and Talos reputation
Section titled “Sender Score and Talos reputation”The dashboard queries Sender Score (senderscore.org) and Cisco Talos reputation for the server's IPs on a 24-hour interval. Scores are shown alongside the RBL status. A Sender Score below 70 triggers a yellow alert; below 50 triggers a red alert.
Operator warmup workflow
Section titled “Operator warmup workflow”For a freshly provisioned server:
- Ensure PTR is set and matches the HELO banner before sending any mail.
- Add SPF, DKIM, and DMARC records for every sending domain.
- Start sending low-volume mail (newsletters, transactional) first. Do not blast cold lists.
- Watch the deliverability dashboard daily for the first two weeks.
- If an RBL listing appears in week 1 or 2, investigate immediately; warmup damage compounds.
- After week 6, confirm the mail-tester score and Sender Score are both in the green before opening up high-volume sending.
Webmail (SnappyMail)
Section titled “Webmail (SnappyMail)”The installer downloads the latest SnappyMail release from GitHub, verifies its OpenPGP signature against the SnappyMail release key (1016E47079145542F8BA133548208BA13290F3EB), and serves it on the panel hostname at https://<panel-hostname>:2096/ (the same port cPanel uses for webmail). Set HOSTCRAFT_SNAPPYMAIL_VERSION before running the installer to pin a specific release.
How it runs:
- Caddy terminates TLS on port 2096 and hands PHP to a dedicated PHP-FPM unit,
hostcraft-webmail.service(PHP 8.4, or 8.5 when 8.4 is unavailable), running as the unprivilegedhostcraft-webmailuser. - Code lives in
/var/lib/hostcraft-webmail/public(root owned, read only). SnappyMail data lives in/var/lib/hostcraft-webmail/data, outside the document root. - Every mailbox logs in against the local Dovecot over IMAPS (127.0.0.1:993) and sends through Postfix submission (127.0.0.1:587, STARTTLS, SMTP AUTH).
- The SnappyMail admin panel is disabled, its URL key is randomised, and its admin password is a generated secret stored in
/etc/hostcraft/webmail/admin.secret(root only).
Single sign on: POST /api/v1/mail/mailboxes/{id}/webmail-session returns a 15 minute, single use URL (https://<panel-hostname>:2096/?session=<jwt>). The HostCraft bridge (webmail-bootstrap.php, written by hostcraftd at boot) verifies the JWT with the key in /etc/hostcraft/webmail/, decrypts the mailbox credential, and signs the browser into SnappyMail. A link that was already used is rejected. Set mail.webmail_url in config.yaml only if you serve webmail from your own vhost; the daemon then leaves the Caddy webmail site alone.
The token cannot be used against the panel API.
Queue management
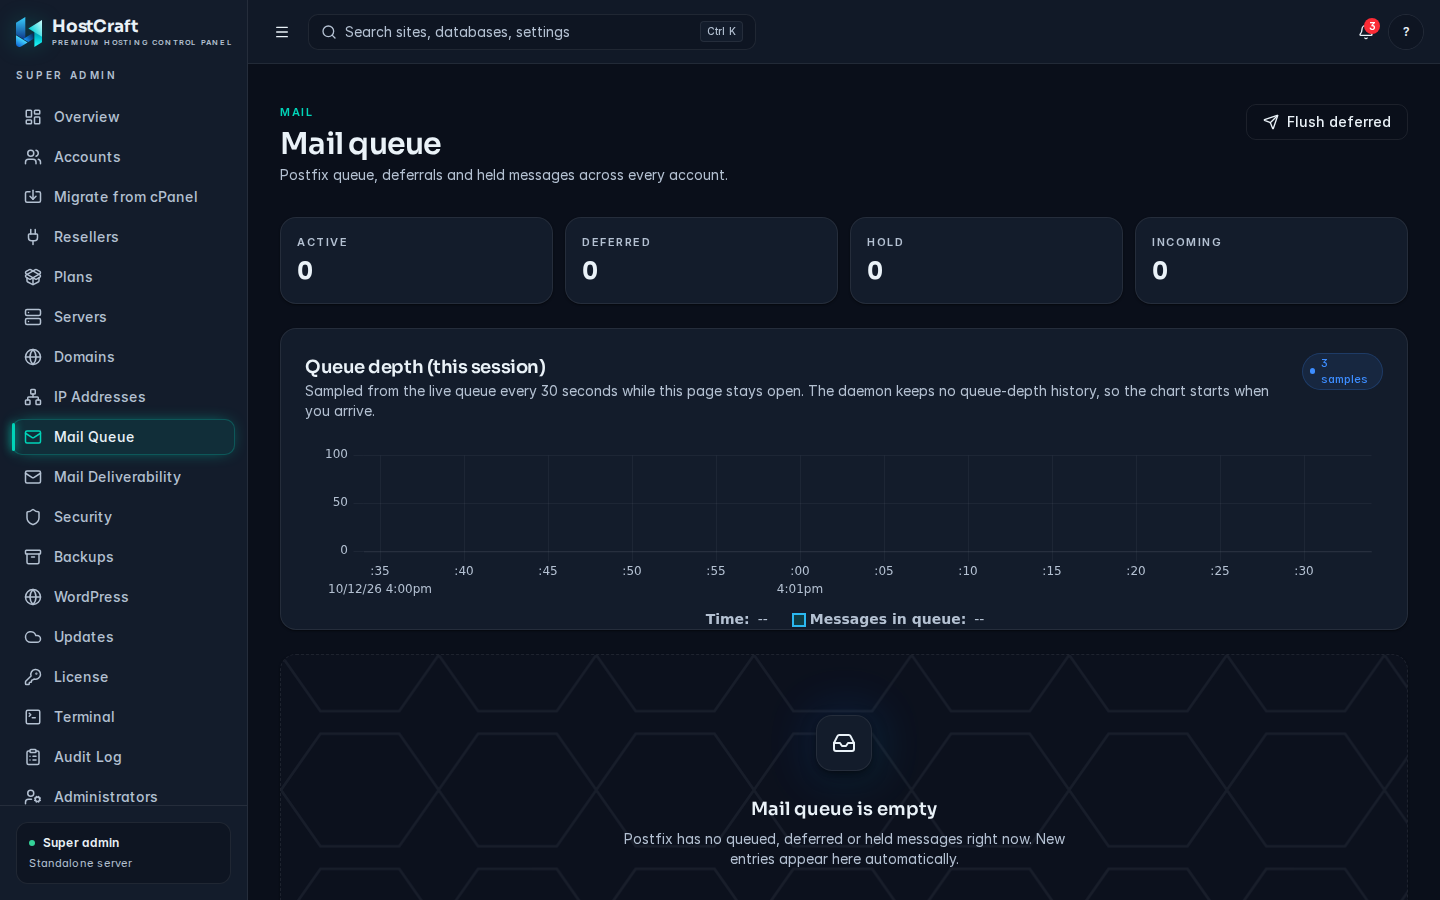
Section titled “Queue management”The Postfix queue surfaces in the panel under Mail -> Queue. Each message shows sender, recipient, queue age, and the most recent delivery error.
| Action | CLI equivalent | Effect |
|---|---|---|
| Flush | postqueue -f |
Force immediate retry of all queued messages |
| Hold | postsuper -h <id> |
Move message to the hold queue (paused) |
| Release | postsuper -H <id> |
Move from hold back to the active queue |
| Delete | postsuper -d <id> |
Permanently remove the message |
| Delete all | postsuper -d ALL |
Requires typed confirmation in the panel |
# CLI: list the queuehostcraftd mail queue list
# CLI: delete a specific messagehostcraftd mail queue delete --id=<queue-id>
# CLI: flush the queuehostcraftd mail queue flush
Bulk actions on more than 100 messages require a re-typed confirmation string in the panel. Deleting more than 1,000 messages from the CLI requires the --force flag.
Rspamd
Section titled “Rspamd”Rspamd handles spam scoring with per-user Bayesian training, per-IP and per-domain reputation, and content-based scoring. The Rspamd web UI is available at Security -> Mail filter in the panel.
Per-user or per-account whitelist:
hostcraftd mail rspamd whitelist add \ --account=acme \Rspamd config is always written through the configwriter pattern; do not edit Rspamd config files directly.