
Settings
Every role has a Settings page, but what it contains depends on who you are:
| Role | Tabs |
|---|---|
| Account owner | Profile, Sign-in & 2FA, API tokens, Sub-users, SSH access |
| Sub-user | Profile, Sign-in & 2FA, API tokens, and SSH access if the owner granted SSH key access |
| Reseller | Profile, Sign-in security, API tokens |
| Admin | General, Notifications, Sign-in policy, Your sign-in, API tokens, Developers |
| Mailbox user | No Settings page. Change your password, automatic reply, forwarding and filters on My mailbox (see Email) |
Account owners and sub-users
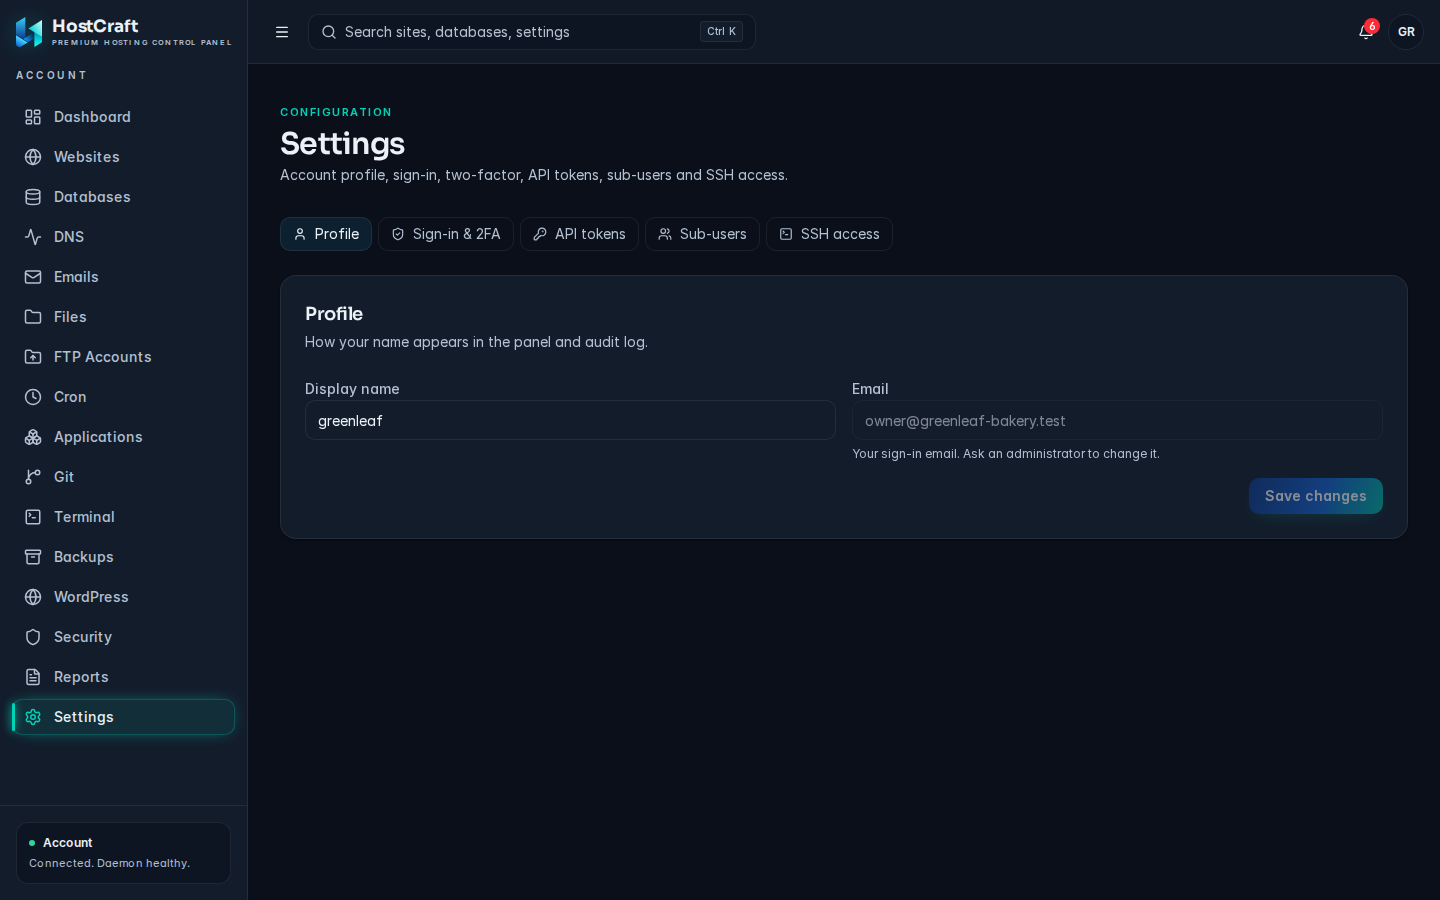
Section titled “Account owners and sub-users”Open Settings in the sidebar, or choose Profile from the user menu (your initials, top right) to land on the Profile tab. You can link straight to a tab with ?tab=security, ?tab=tokens, ?tab=subusers or ?tab=ssh.
Profile
Section titled “Profile”- Display name: how your name appears in the panel and the audit log. Change it and click Save changes.
- Email: your sign-in email. It cannot be edited here; ask an administrator to change it.
Change your password
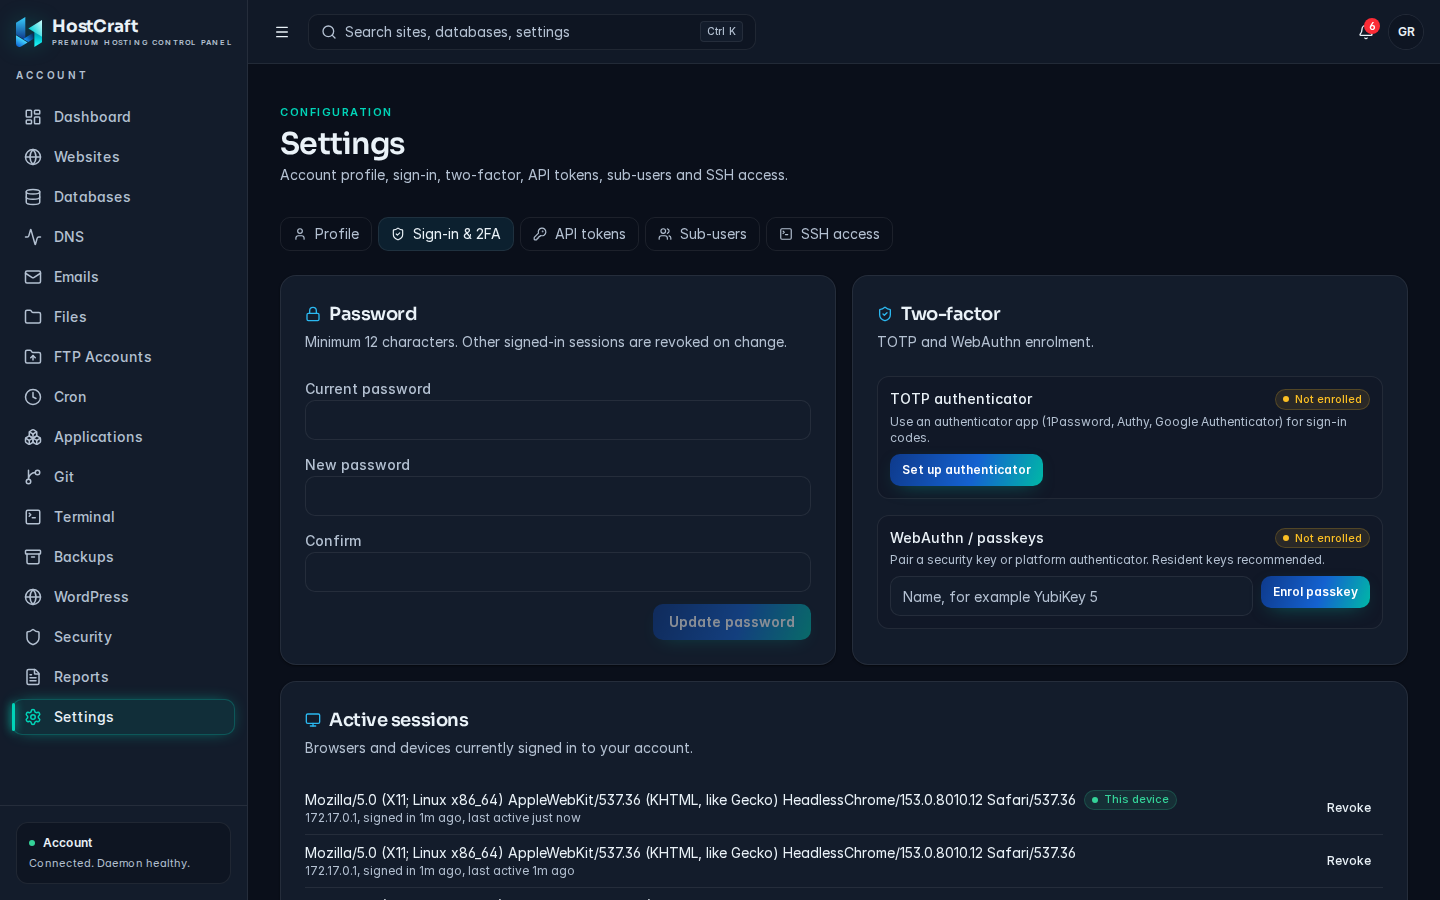
Section titled “Change your password”On Sign-in & 2FA, in the Password card:
- Enter your Current password.
- Enter a New password of at least 12 characters, and repeat it in Confirm.
- Submit. "Password updated. Your other sessions were signed out." confirms it. Other browsers and devices must sign in again.
Set up an authenticator app (TOTP)
Section titled “Set up an authenticator app (TOTP)”- On Sign-in & 2FA, under TOTP authenticator, click Set up authenticator.
- Add the key shown to your authenticator app (1Password, Authy, Google Authenticator and similar), or click Open in authenticator app on the device that has the app.
- Enter the 6-digit code the app shows and click Verify.
- Your recovery codes appear. Copy them and store them somewhere safe. Each code signs you in once if you lose your phone.
Once enrolled the status reads Enrolled. Use New recovery codes to replace your codes (the old ones stop working) or Remove to take the authenticator off your account. Removing it asks you to confirm your identity.
Add a passkey or security key
Section titled “Add a passkey or security key”Under WebAuthn / passkeys, type a name (for example YubiKey 5, up to 64 characters) and click Enrol passkey, then follow your browser's prompt. Each passkey is listed with when it was added, and can be removed. If the browser cannot register passkeys you see "This browser cannot register passkeys. Use a current browser over HTTPS."
Your administrator may require two-factor for your role. If so, after a grace period you can only reach the two-factor setup screen until you add a passkey or authenticator.
Active sessions
Section titled “Active sessions”The Active sessions card lists the browsers and devices signed in to your account, with the current one marked. Click Revoke to sign a device out, or Sign out everywhere to end every session including this one. Revoke any session you do not recognise, then change your password.
API tokens
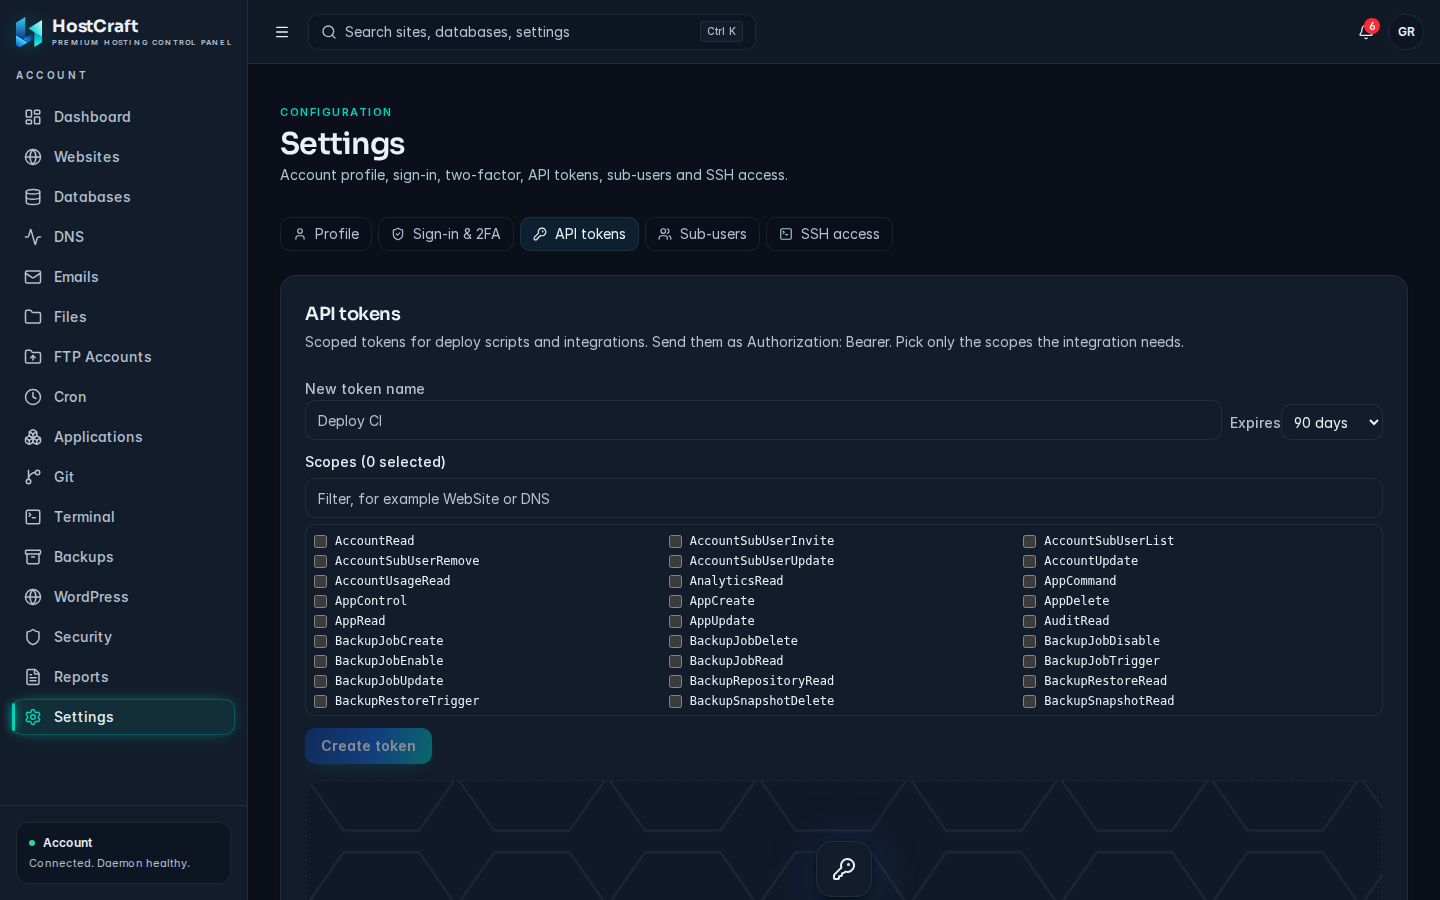
Section titled “API tokens”Tokens let scripts and integrations call the HostCraft API. Send them in the Authorization: Bearer header.
- On API tokens, enter a New token name, for example
Deploy CI. - Choose Expires: 30 days, 90 days, 1 year or No expiry.
- Tick the scopes the integration needs. Use the filter box (for example
WebSiteorDNS) to find them. At least one scope is required. - Click Create token.
- Copy the token now. It will not be shown again.
To revoke a token, click Revoke and confirm. Anything using it stops working immediately.
Sub-users (account owners only)
Section titled “Sub-users (account owners only)”Sub-users are extra sign-ins for your account, each limited to the access you choose.
- On Sub-users, click Add sub-user.
- Enter their Email, Name and an Initial password (at least 12 characters; they can change it after signing in).
- Pick an Access preset:
- Developer: websites, databases, files, FTP, SSH keys, cron, DNS, SSL and WordPress.
- Mail admin: mailboxes, forwarders, filters and autoresponders.
- Billing: account details, usage and the audit log.
- Read-only support: can look at everything, change nothing.
- Custom: only the permissions you tick.
- Save, then share the email and password with them.
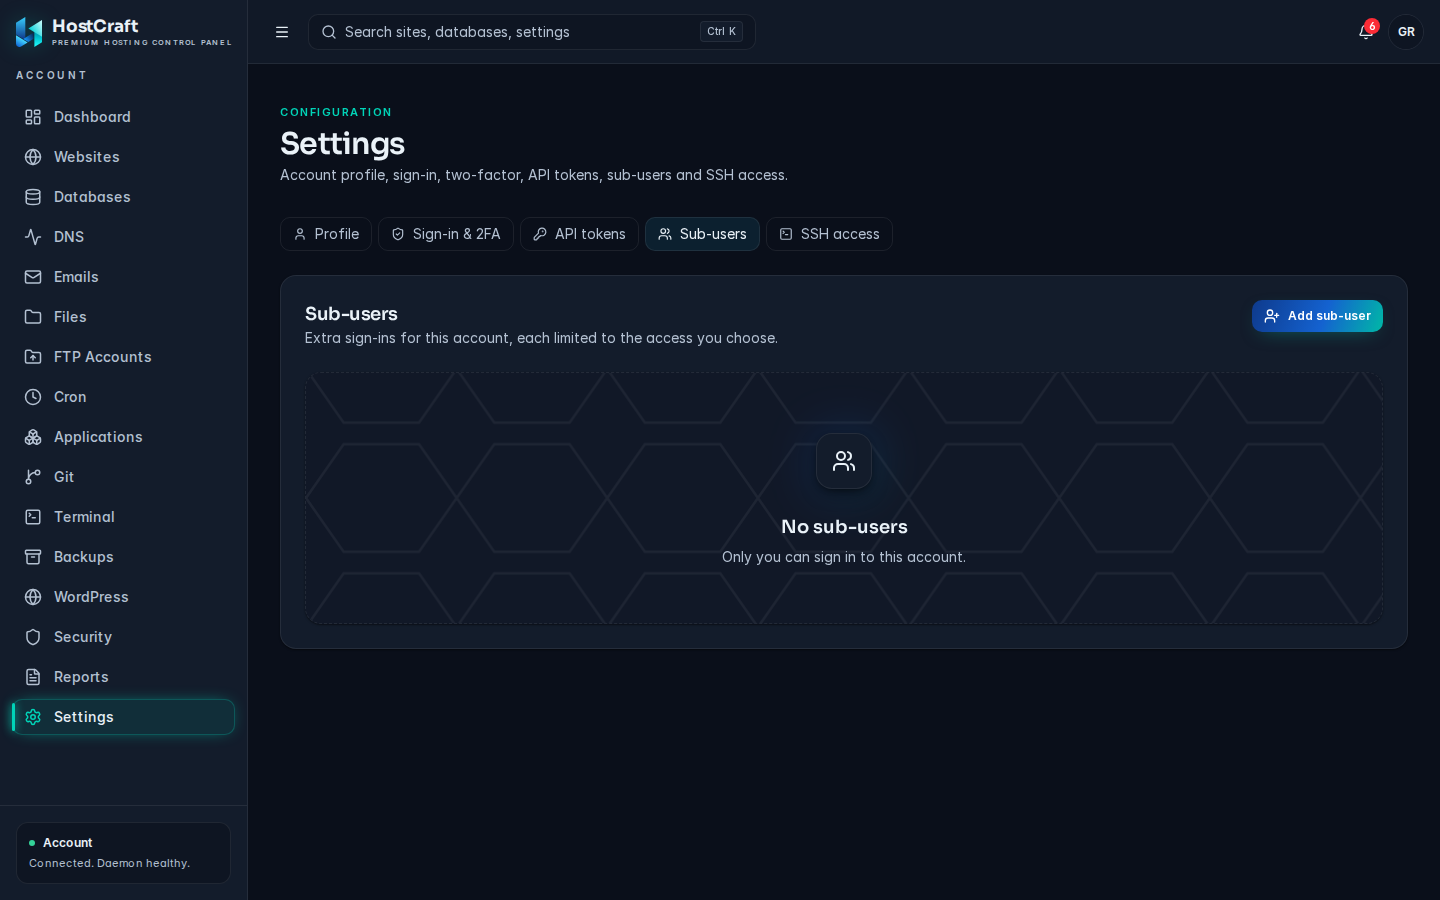
For an existing sub-user you can Edit access, disable them (which also signs them out) or enable them again, and remove them. Removing deletes their sign-in and access.
SSH access (SFTP)
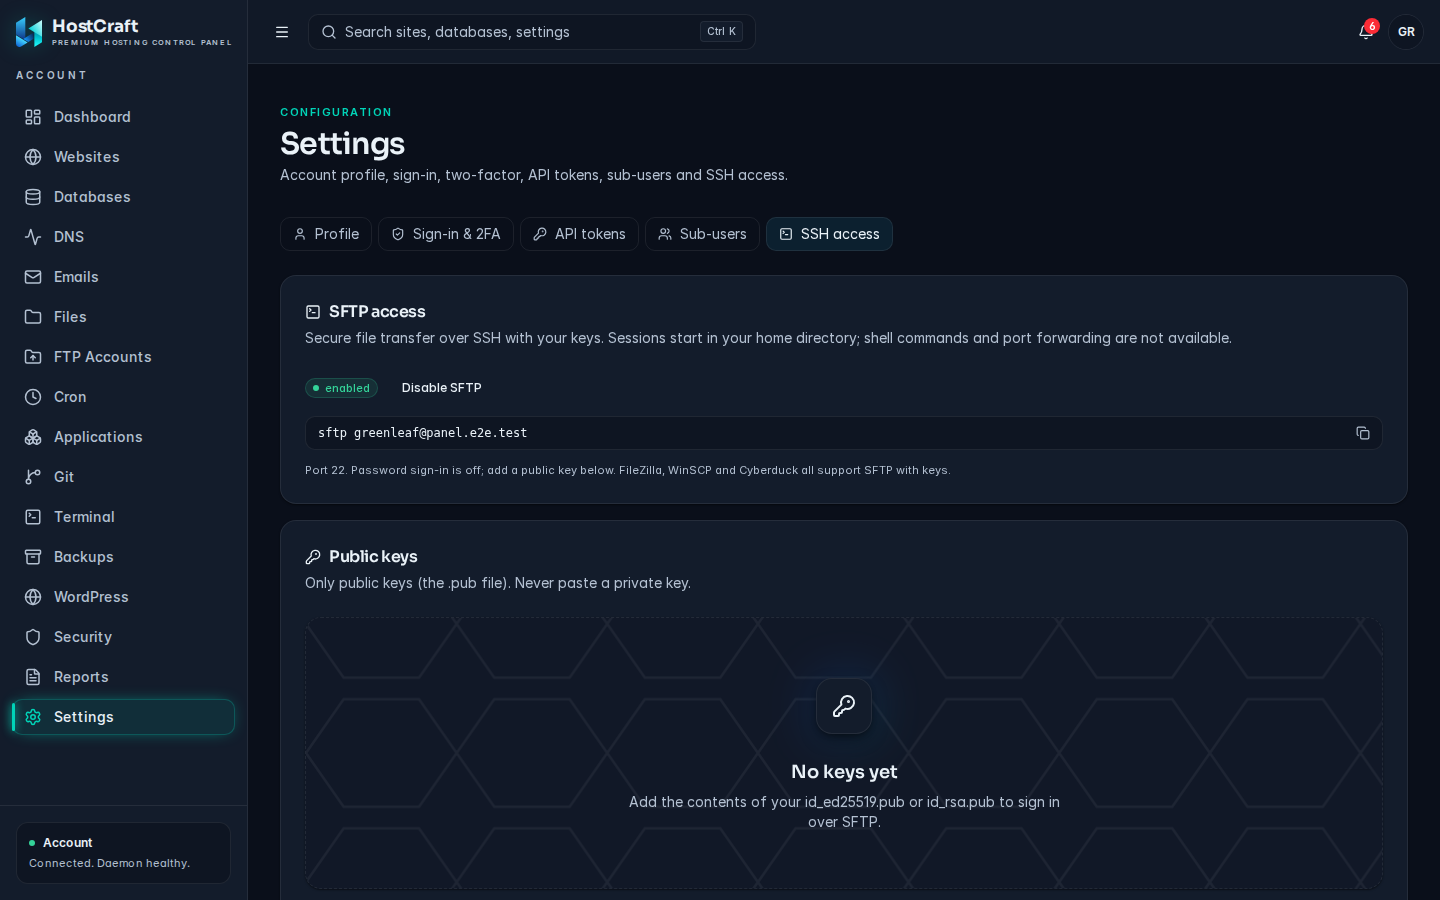
Section titled “SSH access (SFTP)”The SSH access tab controls SFTP: secure file transfer over SSH with keys. Sessions start in your home directory. Shell commands and port forwarding are not available, and password sign-in is off.
- Click Enable SFTP. The card shows the port (22 by default).
- Under Public keys, paste a public key (the contents of your
id_ed25519.puborid_rsa.pub) into Add a key and click Add key. Never paste a private key. - Or use Import authorized_keys to paste a whole
authorized_keysfile, one key per line, and click Import keys. Options such ascommand=orfrom=are dropped, and comments and invalid lines are skipped. - Connect with FileZilla, WinSCP, Cyberduck or
sftpusing your account username and the matching private key.
Remove a key to stop clients using it from signing in. Disable SFTP turns access off entirely. A sub-user sees this tab only if the owner granted SSH key read access, and can add keys only with SSH key create access.
Resellers
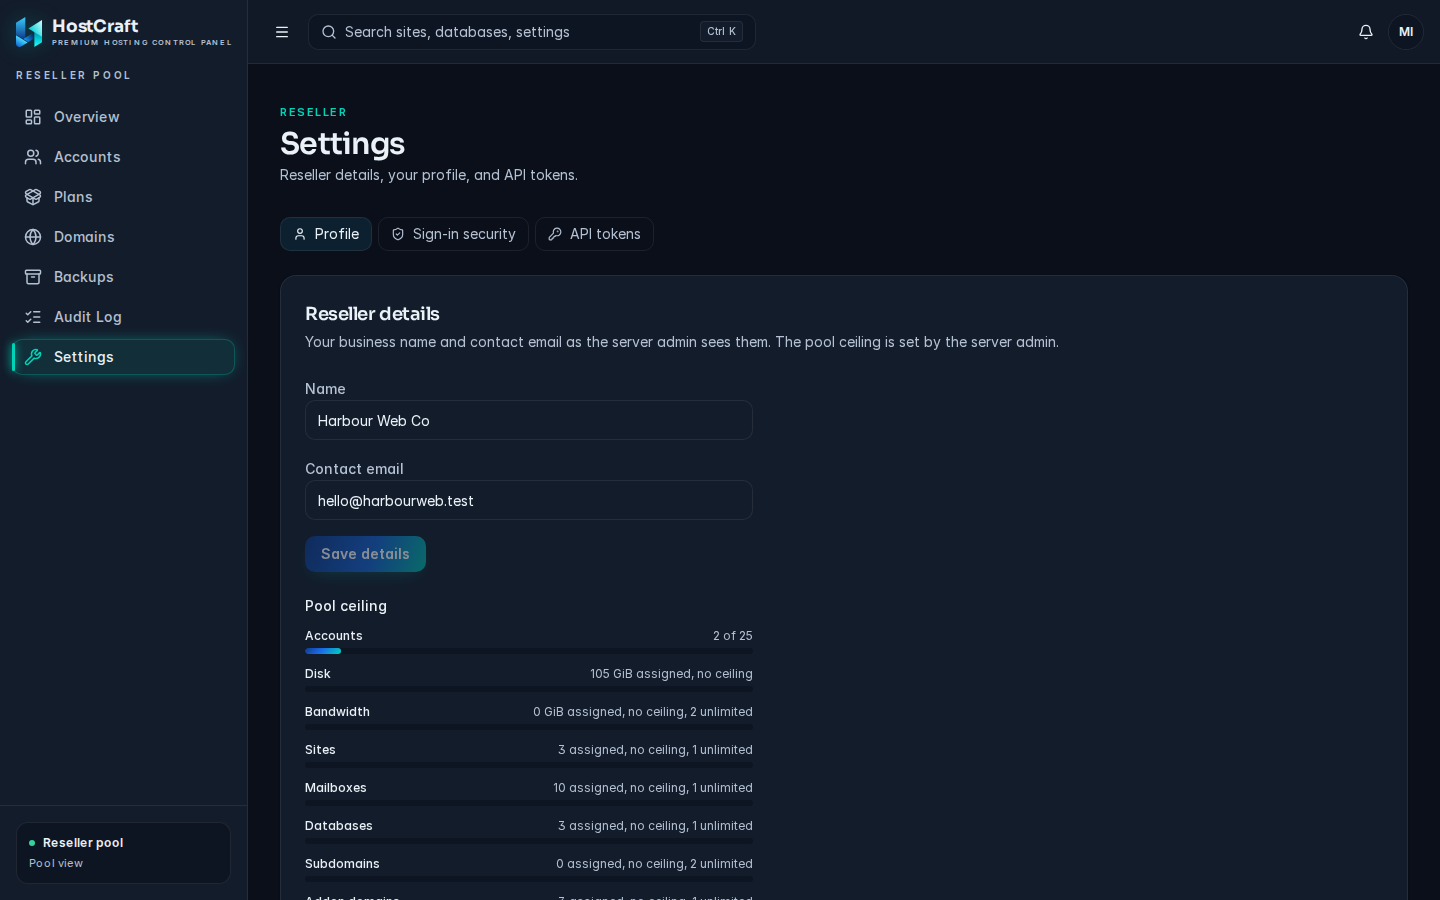
Section titled “Resellers”The reseller Settings page has three tabs:
- Profile: Reseller details (business Name, Contact email and your Pool ceiling) and your own Display name. If the page says "This login is not linked to a reseller", ask the server administrator.
- Sign-in security: password, two-factor, passkeys and sessions, as described above.
- API tokens: tokens act with your reseller permissions. Leave scopes empty to inherit them.
Administrators
Section titled “Administrators”Settings in the admin sidebar covers server identity, alert delivery, sign-in policy, API tokens, webhooks and hook scripts.
General
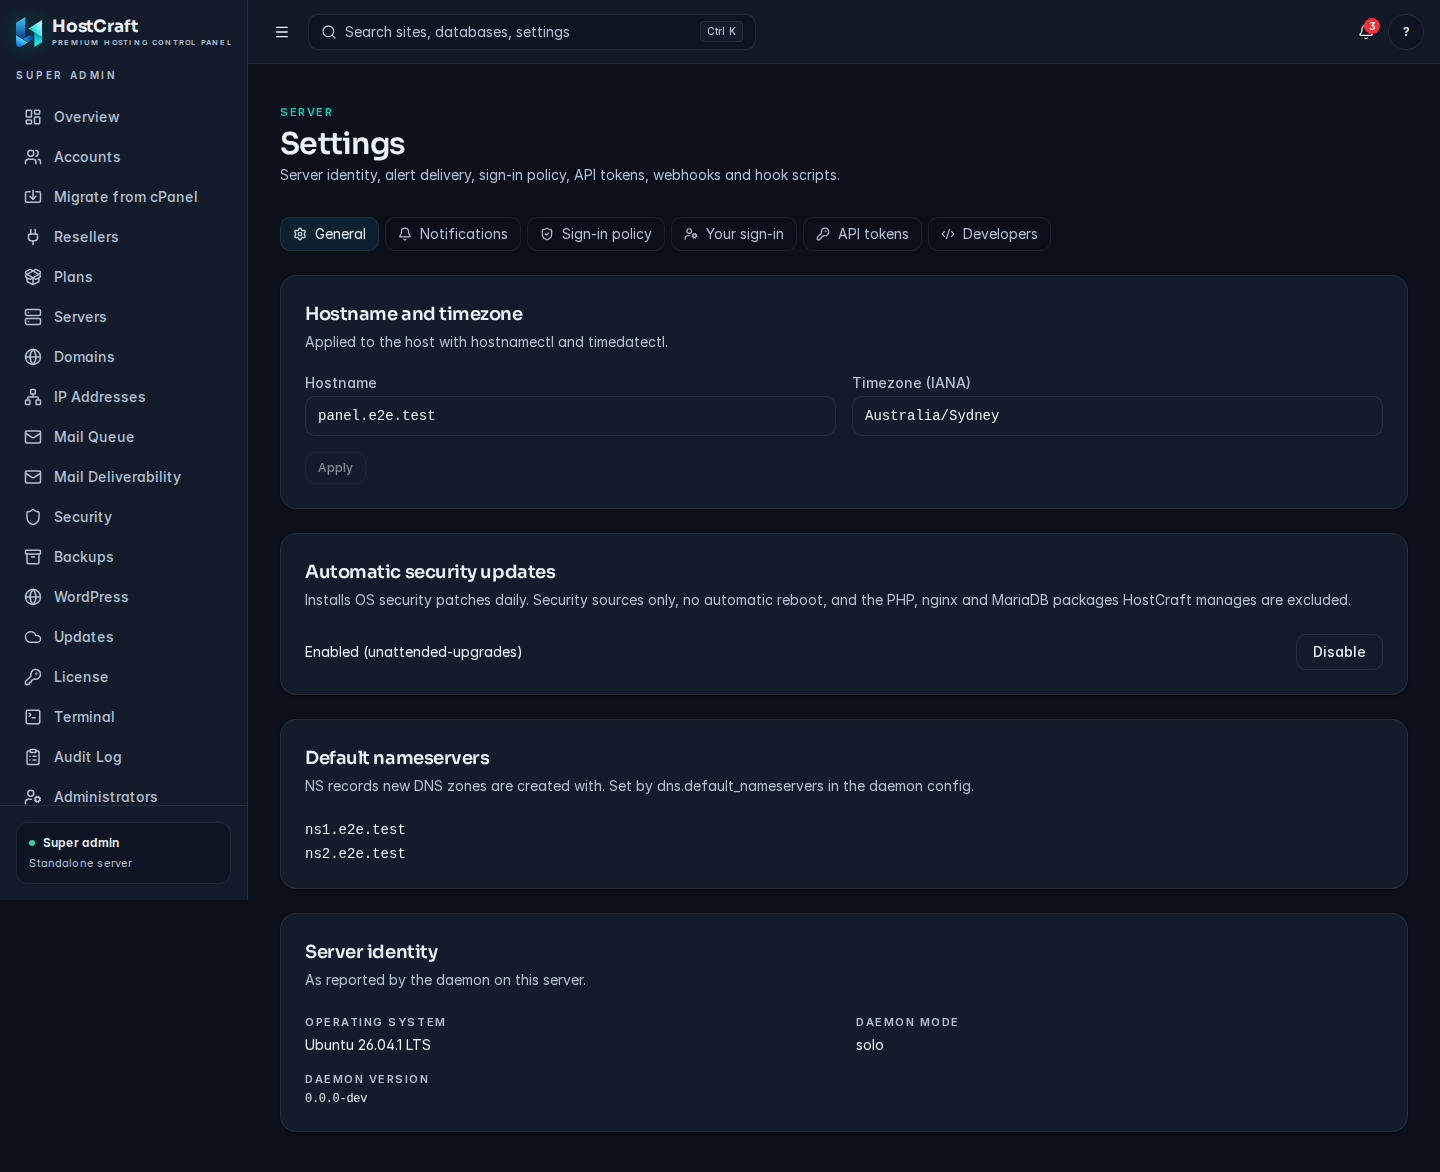
Section titled “General”- Hostname and timezone: set Hostname and Timezone (IANA), for example
Australia/Sydney. They are applied to the host withhostnamectlandtimedatectl. Reset discards your edits. - Automatic security updates: installs OS security patches daily, from security sources only, with no automatic reboot. PHP, nginx and MariaDB packages that HostCraft manages are excluded. Shows Enabled or Disabled with the tool used, and an Enable / Disable button. Some distributions show "Not supported on this distribution."
- Default nameservers: the NS records new DNS zones are created with. Read only here; set by
dns.default_nameserversin the daemon config. - Server identity: Operating system, Daemon mode and Daemon version.
Notifications
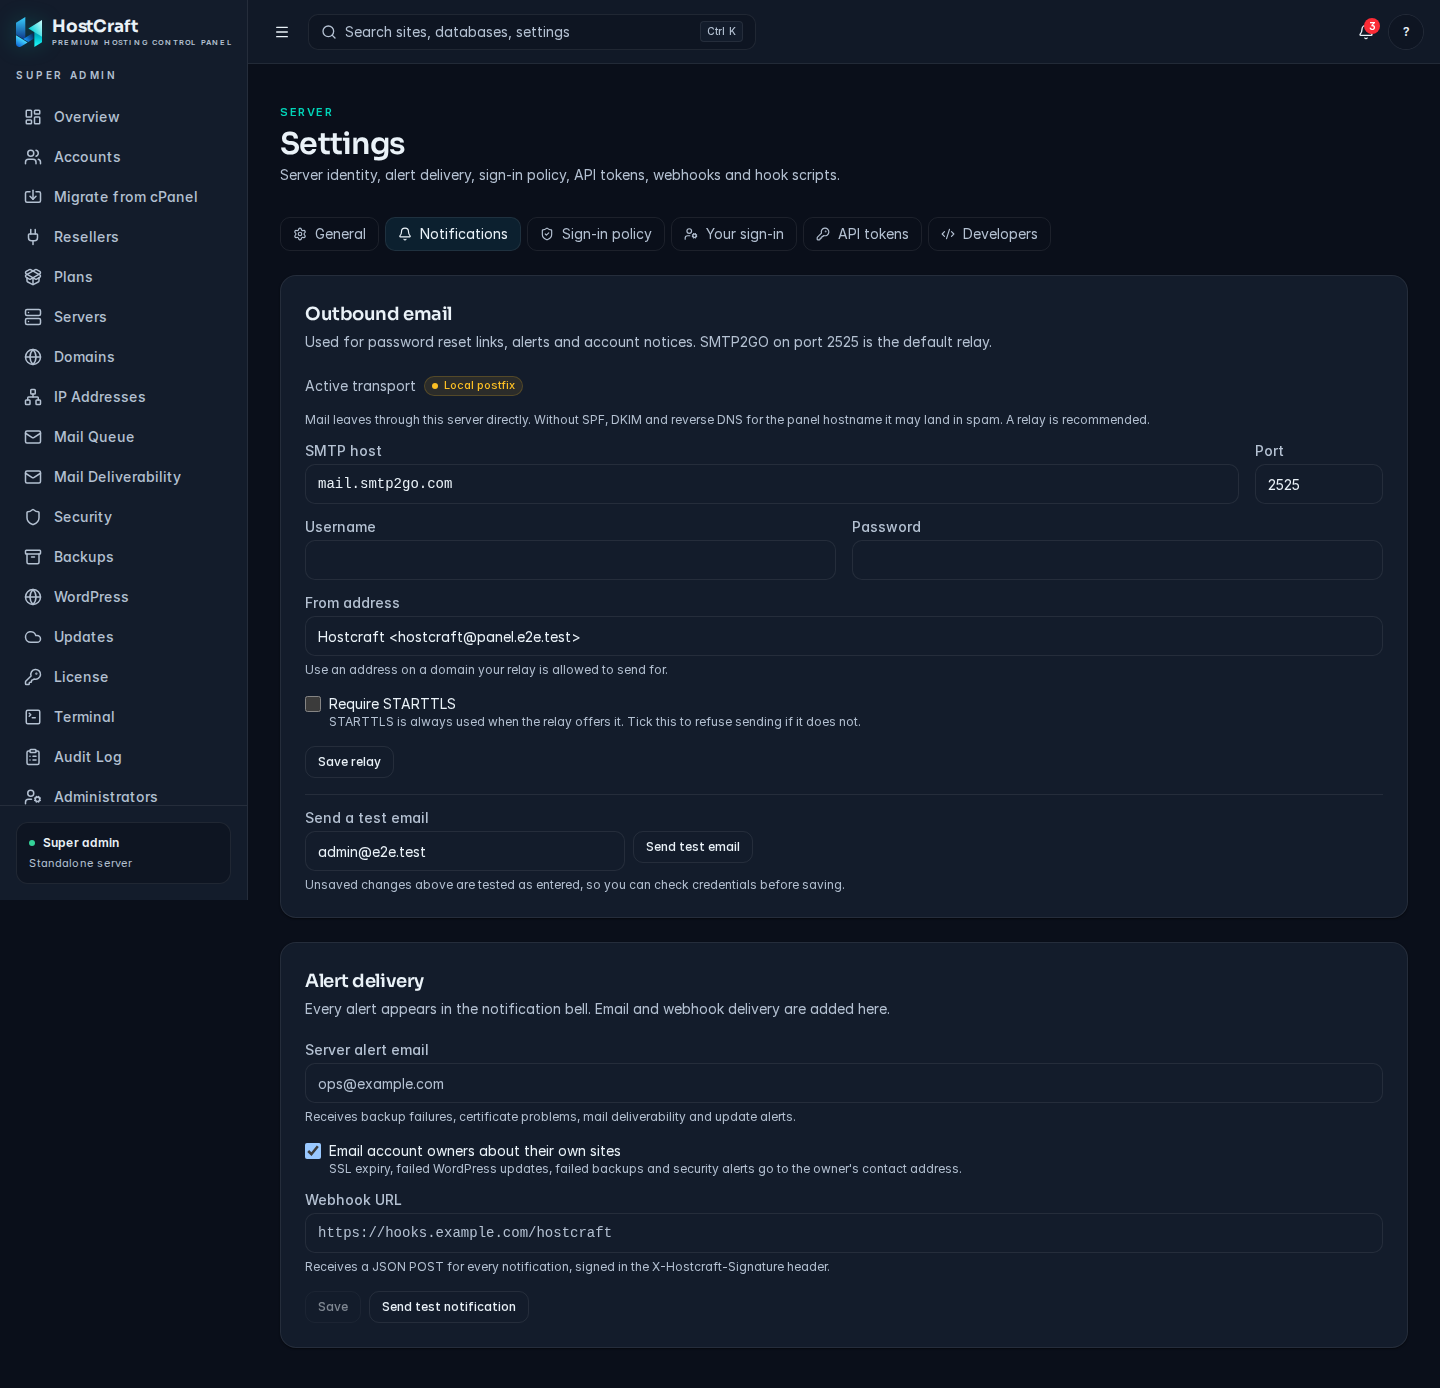
Section titled “Notifications”- Alert delivery: every alert appears in the notification bell. Add a Server alert email for backup failures, certificate problems, mail deliverability and update alerts, and optionally tick Email account owners about their own sites so owners get SSL expiry, failed WordPress update, failed backup and security alerts. A Webhook URL receives a signed JSON POST for every notification. Click Save, then Send test notification.
- Webhook signing secret: verify each delivery by computing HMAC SHA256 of the raw body with this secret. Rotate secret issues a new one.
- Outbound email: the relay used for password reset links, alerts and account notices (SMTP2GO on port 2525 is the default). Enter SMTP host, Port, Username, Password and From address (an address on a domain your relay is allowed to send for). Tick Require STARTTLS to refuse sending when the relay does not offer it. Send a test email tests the settings as entered, before you save. Remove relay falls back to local Postfix.
Sign-in policy
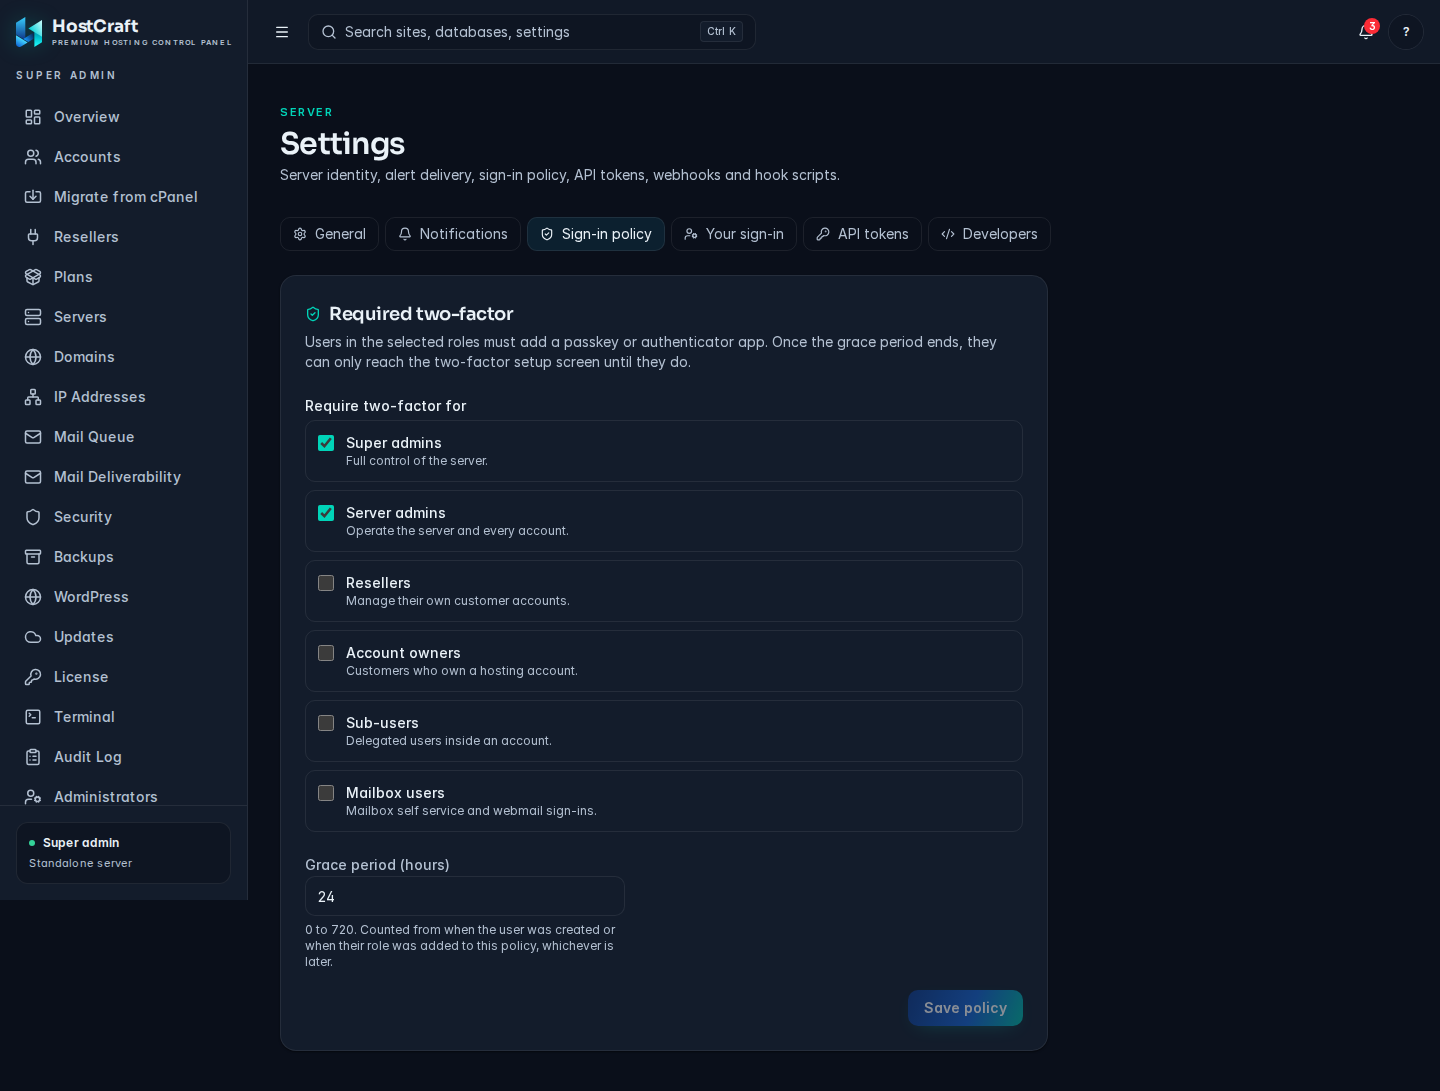
Section titled “Sign-in policy”Under Required two-factor, tick the roles that must use two-factor: Super admins, Server admins, Resellers, Account owners, Sub-users, Mailbox users. Set Grace period (hours). When it ends, affected users can only reach the two-factor setup screen until they enrol. Click Save policy. Requiring two-factor for admin roles is strongly recommended, since admin accounts control every site on the server.
Your sign-in and API tokens
Section titled “Your sign-in and API tokens”Your sign-in is your own password, two-factor, passkeys and sessions. API tokens works as described for account owners.
Developers
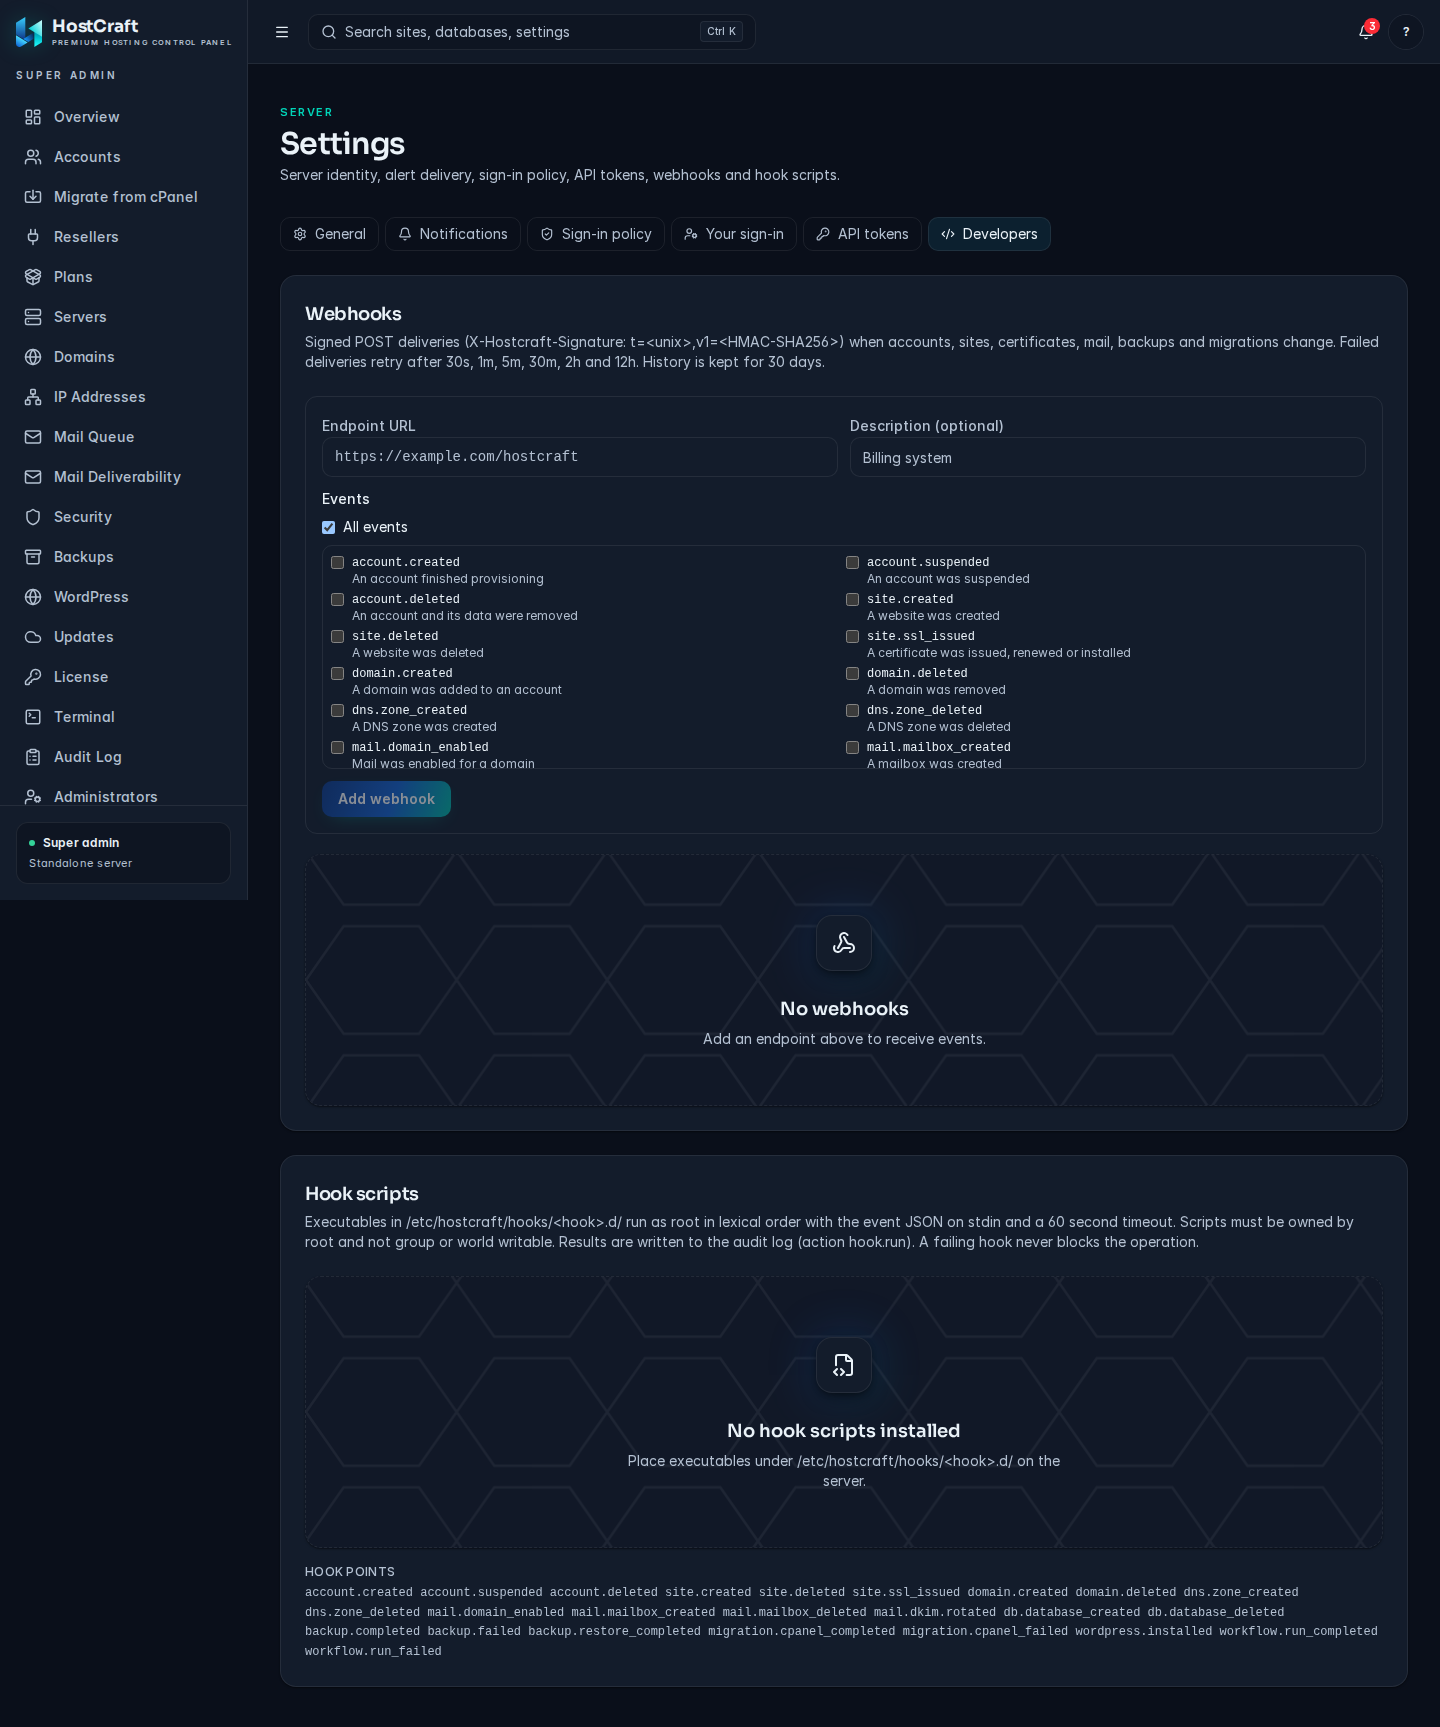
Section titled “Developers”- Webhooks: click Add webhook, enter the Endpoint URL and an optional Description, and choose All events or specific Events. Copy the signing secret when shown. Deliveries are signed POSTs with an
X-Hostcraft-Signature: t=<unix>,v1=<HMAC-SHA256>header. Each webhook has Test, Rotate secret, Edit events and Delete. Recent deliveries shows each Event, Status, Attempts and Response, with Redeliver to send one again. - Hook scripts: executables placed in the hook directory, under
<hook>.d/, run as root in lexical order with the event JSON on standard input. The card lists the available hook points and the scripts installed.
Common problems
Section titled “Common problems”| Problem | Fix |
|---|---|
| "Passwords do not match." or "Use at least 12 characters." | Retype the new password in both fields, 12 characters or more. |
| "That code was not accepted." during TOTP setup | Check your phone's clock is set automatically, then enter the current code. |
| Lost your phone and recovery codes | Ask an administrator to reset your two-factor. |
| Create token is greyed out | Enter a name and tick at least one scope. |
| An integration stopped working | Its token may have expired or been revoked. Create a new one. |
| SFTP client says permission denied | Make sure SFTP is enabled, the public key is listed, and the client uses the matching private key. |
| Test email failed | Check host, port, username and password, and that the From address is allowed by your relay. |
| Webhook test failed | Check the endpoint is reachable from the server and returns a 2xx status. See Recent deliveries for the response. |