
Getting Started
This page covers everything you need on day one: signing in, securing your account, recovering a forgotten password, and finding your way around the panel. It applies to every role. Where a screen or action is limited to some roles, the section says so.
Signing in
Section titled “Signing in”Every user signs in on the same page. Your administrator or hosting provider gives you the panel address (for example https://panel.example.com:2087) and your sign-in email.
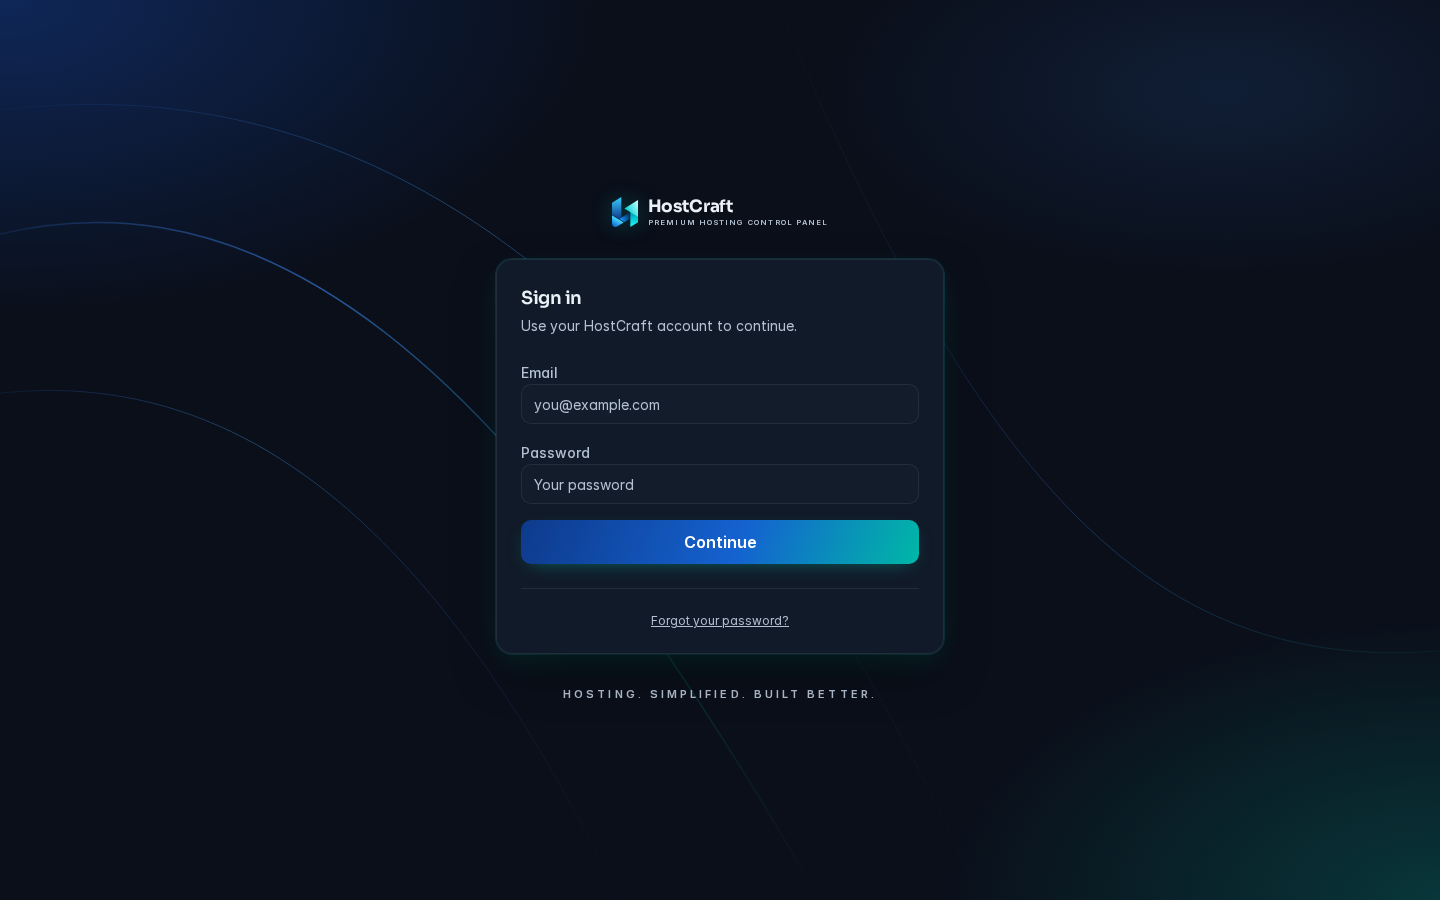
- Open the panel address in your browser.
- In Email, enter your sign-in email address.
- In Password, enter your password.
- Click Continue. The button shows Signing in while it works.
If your account has no second factor enrolled, you go straight to your home page. Where you land depends on your role:
| Role | Home page after sign-in |
|---|---|
| Super admin or server admin | Overview (/admin) |
| Reseller | Overview (/reseller) |
| Account owner or sub-user | Dashboard (/) |
| Mailbox user | My mailbox (/mailbox) |
If you followed a link to a specific page before signing in, you are returned to that page instead.
Two-step verification at sign-in
Section titled “Two-step verification at sign-in”If you have enrolled an authenticator app or a passkey, the card changes to Two-step verification after you click Continue. Only the methods enrolled on your account are shown as tabs.
- Authenticator: type the 6-digit code from your authenticator app into Authenticator code, then click Verify. Only digits are accepted.
- Security key: click Use security key, then follow your browser prompt and touch your security key or confirm with your device (Face ID, Touch ID, Windows Hello, or a hardware key).
- Recovery: type one of your saved recovery codes into Recovery code (it looks like
abcd-efgh-ijkl), then click Verify. Each recovery code works once.
Switching tabs clears any code you had typed. To start again with a different email, click Use a different account.
Sign-in errors
Section titled “Sign-in errors”| Message | What it means | What to do |
|---|---|---|
| invalid credentials | The email or password is wrong, or the code was not accepted | Check the email for typos, check Caps Lock, and retype the password. For codes, make sure your phone clock is correct and use the current code |
| too many attempts, please slow down | Too many sign-in attempts in a short time | Wait a minute or two, then try again |
| The Security key prompt closes or fails | The browser could not use a passkey | Use a current browser over HTTPS, or switch to the Authenticator or Recovery tab |
If you have lost both your authenticator and your recovery codes, you cannot sign in by yourself. Ask your hosting provider or server administrator to reset your two-step verification.
Resetting a forgotten password
Section titled “Resetting a forgotten password”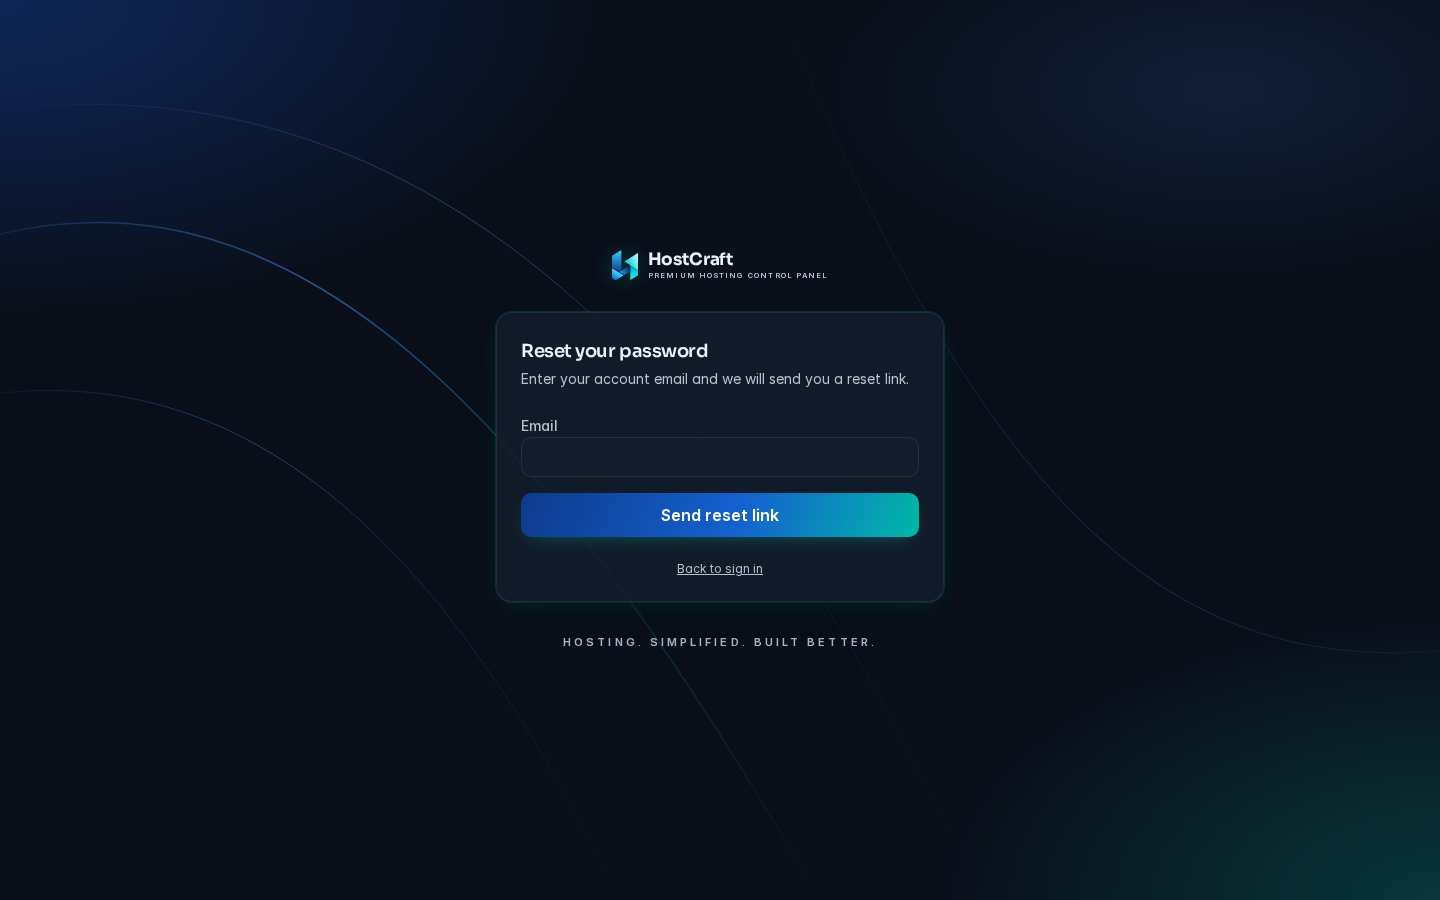
- On the sign-in page, click Forgot your password?.
- In Email, enter your sign-in email and click Send reset link.
- The page confirms: "If an account exists for (your email), a reset link is on its way." For privacy, the message is the same whether or not the account exists.
- Open the email and click the link. The link is valid for one hour.
- On Choose a new password, enter the password in New password and again in Confirm password, then click Set password.
- The page shows Password updated. Redirecting to sign in. and returns you to the sign-in page.
Resetting your password signs out every other session on your account.
Common problems
- Passwords do not match. The two fields differ. Retype both.
- No email arrives. Check your spam folder and that you typed the address you sign in with. Reset emails need outgoing mail to be set up on the server; server administrators see a prompt on their Overview page until it is. If it still does not arrive, contact your provider.
- The link no longer works. It is older than one hour or has already been used. Request a new one.
- too many attempts, please slow down. Wait a few minutes before requesting another link.
Click Back to sign in at any time to return to the sign-in page.
Finding your way around
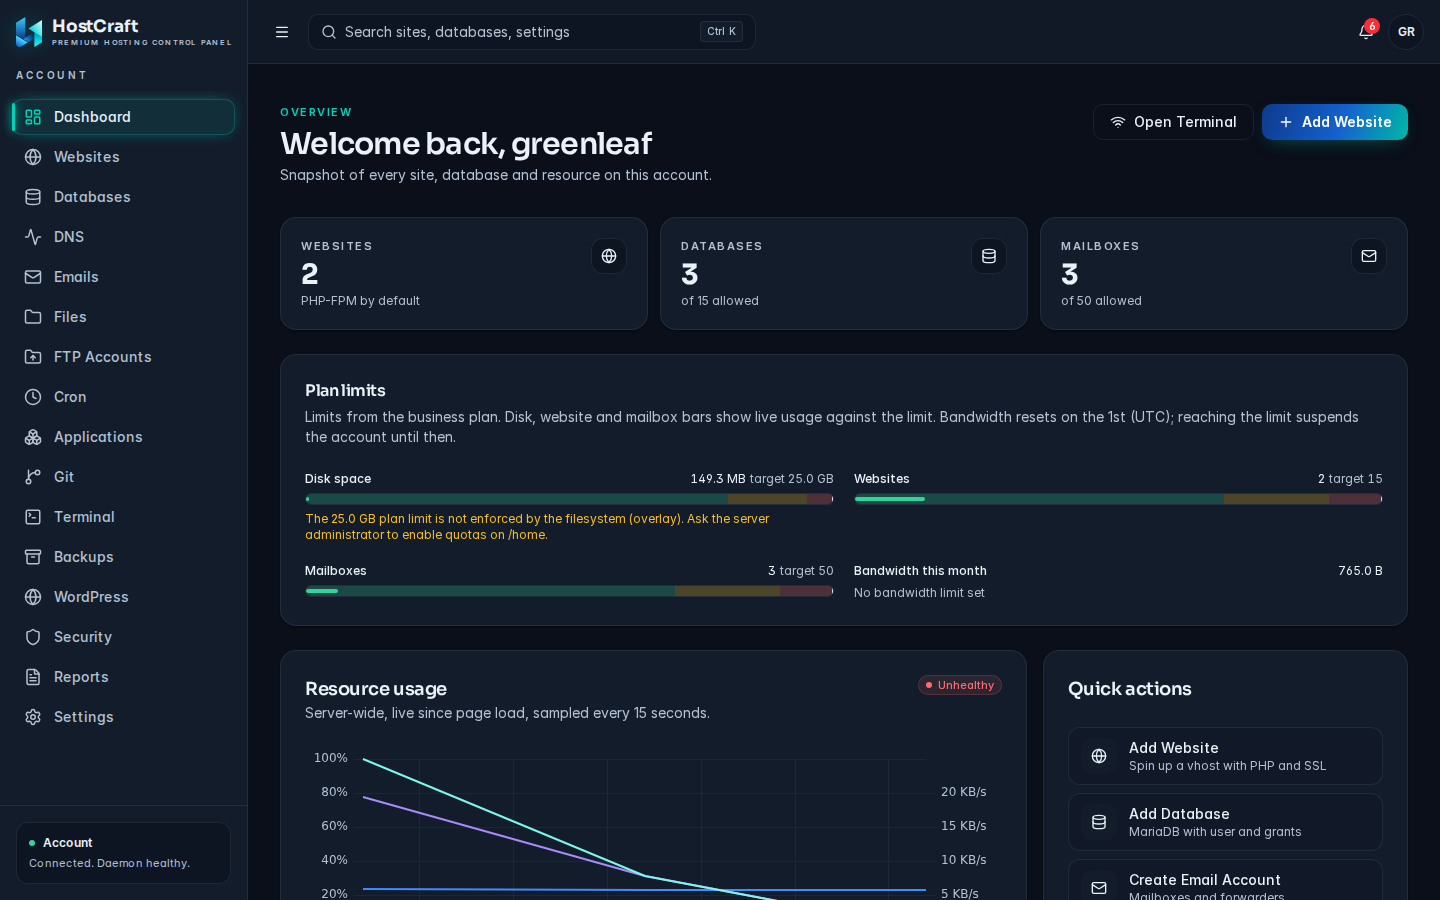
Section titled “Finding your way around”Once signed in, every page shares the same frame: a sidebar on the left and a top bar across the top.
The sidebar
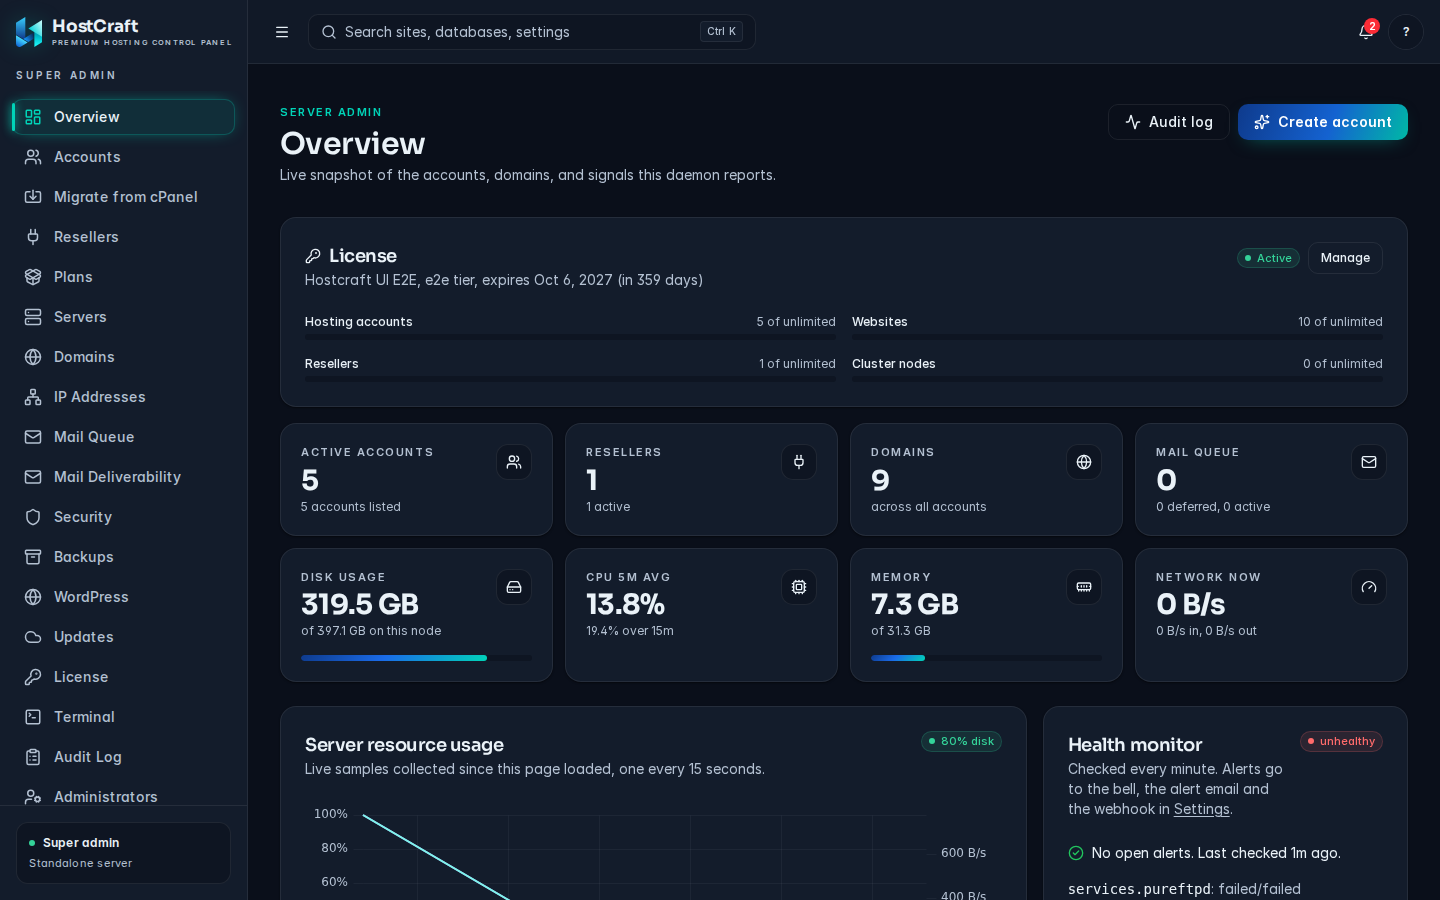
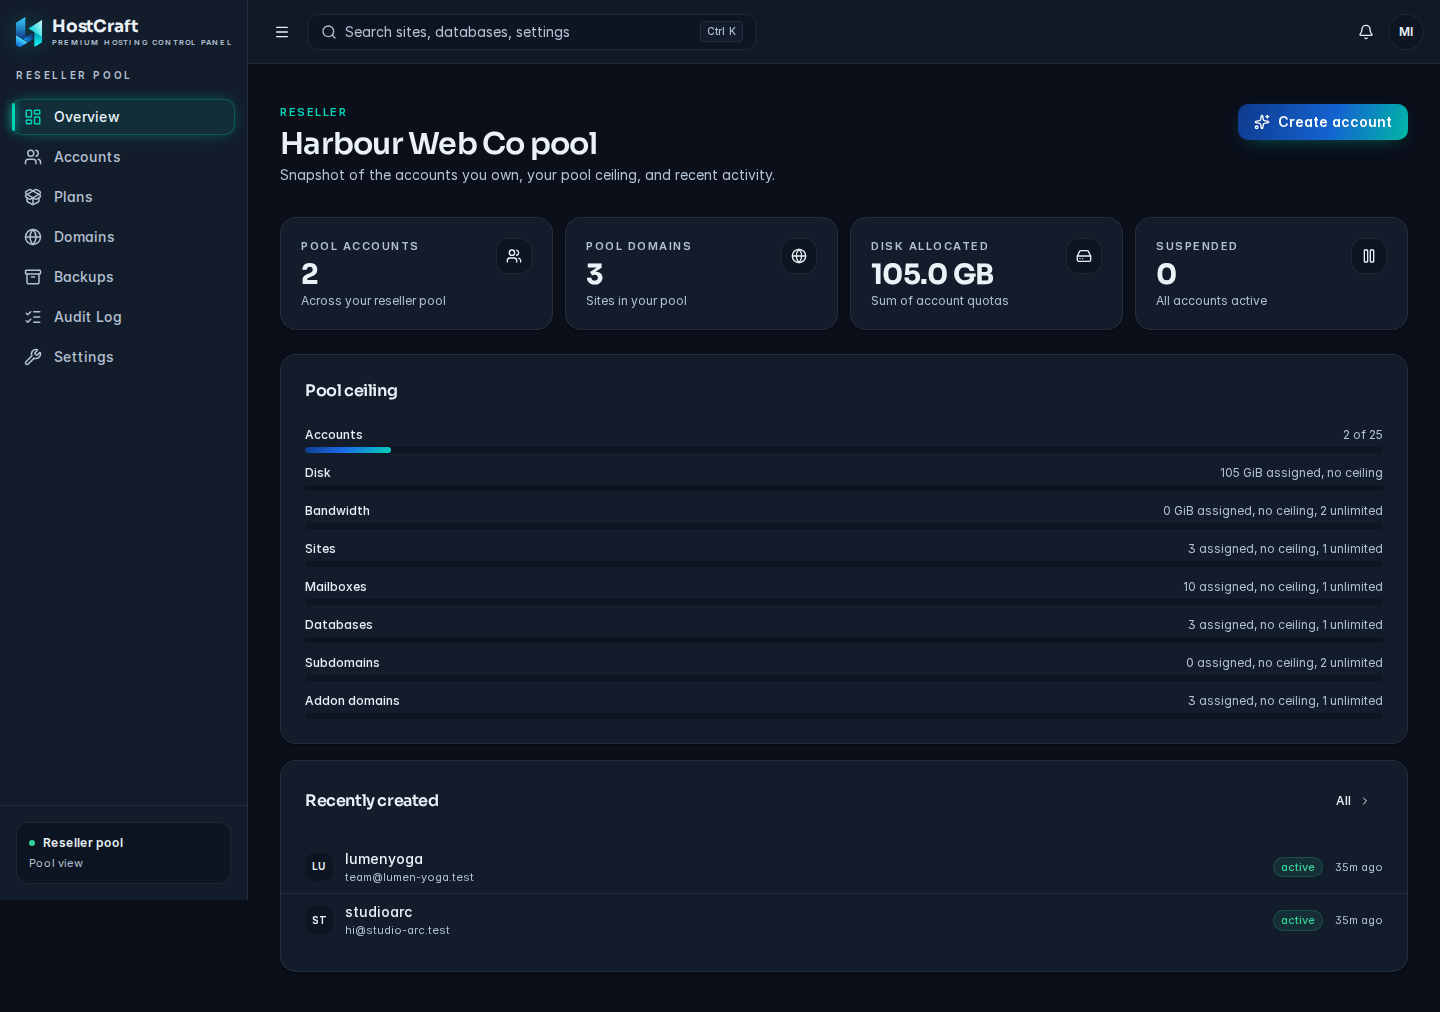
Section titled “The sidebar”The sidebar lists the areas you can open. Its heading shows your scope (for example Account, Reseller pool, Server admin or Super admin), and the card at the bottom shows your connection status.
- On a desktop, click the menu button at the top left (Toggle navigation) to shrink the sidebar to icons. Hover over an icon to see its name.
- On a phone, tap the menu button (Open navigation) to slide the sidebar in. Tap a page, the close button, or press Escape to close it.
What you see depends on your role:
- Account owners see Dashboard, Websites, Databases, DNS, Emails, Files, FTP Accounts, Cron, Applications, Git, Terminal, Backups, WordPress, Security, Reports and Settings.
- Sub-users see Dashboard, Settings, and only the areas the owner has granted.
- Resellers see Overview, Accounts, Plans, Domains, Backups, Audit Log and Settings.
- Server administrators see Overview, Accounts, Migrate from cPanel, Resellers, Plans, Servers, Domains, IP Addresses, Mail Queue, Mail Deliverability, Security, Backups, WordPress, Updates, License, Terminal, Audit Log and Settings. Administrators (managing other admin operators) is shown to super admins only.
- Mailbox users see My mailbox and Webmail.
Some features depend on your HostCraft licence tier. A server administrator can check which features are included under License.
The top bar
Section titled “The top bar”- Search sites, databases, settings opens the command palette (see below).
- The bell shows your notifications.
- Your initials open the user menu, which shows your name and email, lets you pick a Theme (Light, Dark or System), and has Sign out.
The command palette
Section titled “The command palette”The command palette lets you jump anywhere without the mouse.
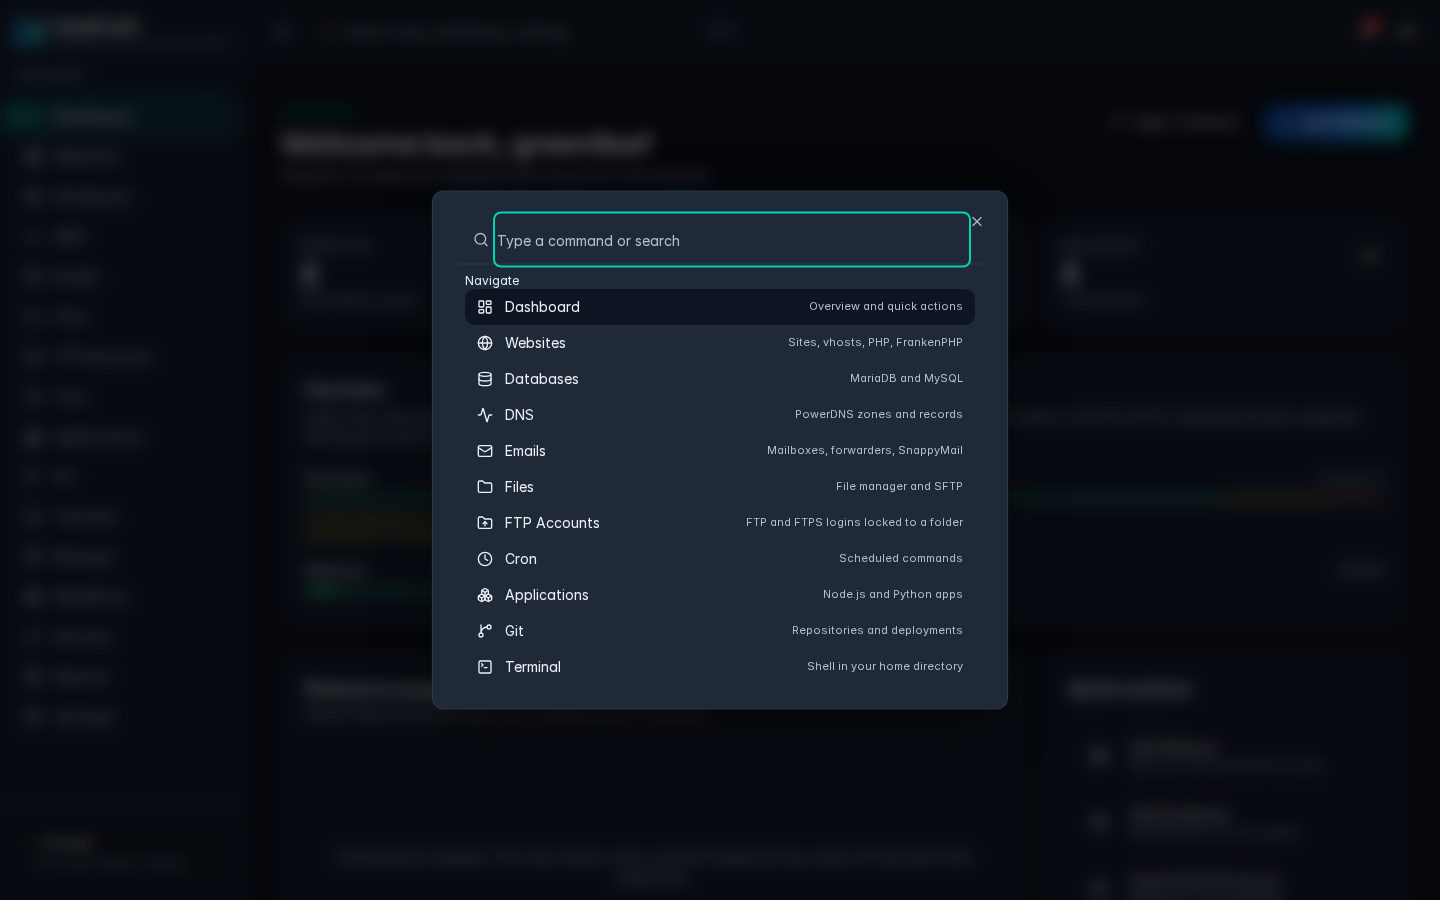
- Press Ctrl K (on a Mac, Command K), or click the search box in the top bar.
- Start typing. The list filters as you type. Use the arrow keys to move and Enter to select. Press Escape to close.
The palette has three groups:
- Navigate: every page in your sidebar, with a short description.
- Actions: Add Website, Add Database, Create Email Account and Backup Now. Each opens the matching page ready to start that task. You still need permission for that area to complete it.
- Preferences: Switch to Light Mode or Switch to Dark Mode.
If nothing matches, the palette shows No results found.
The dashboard
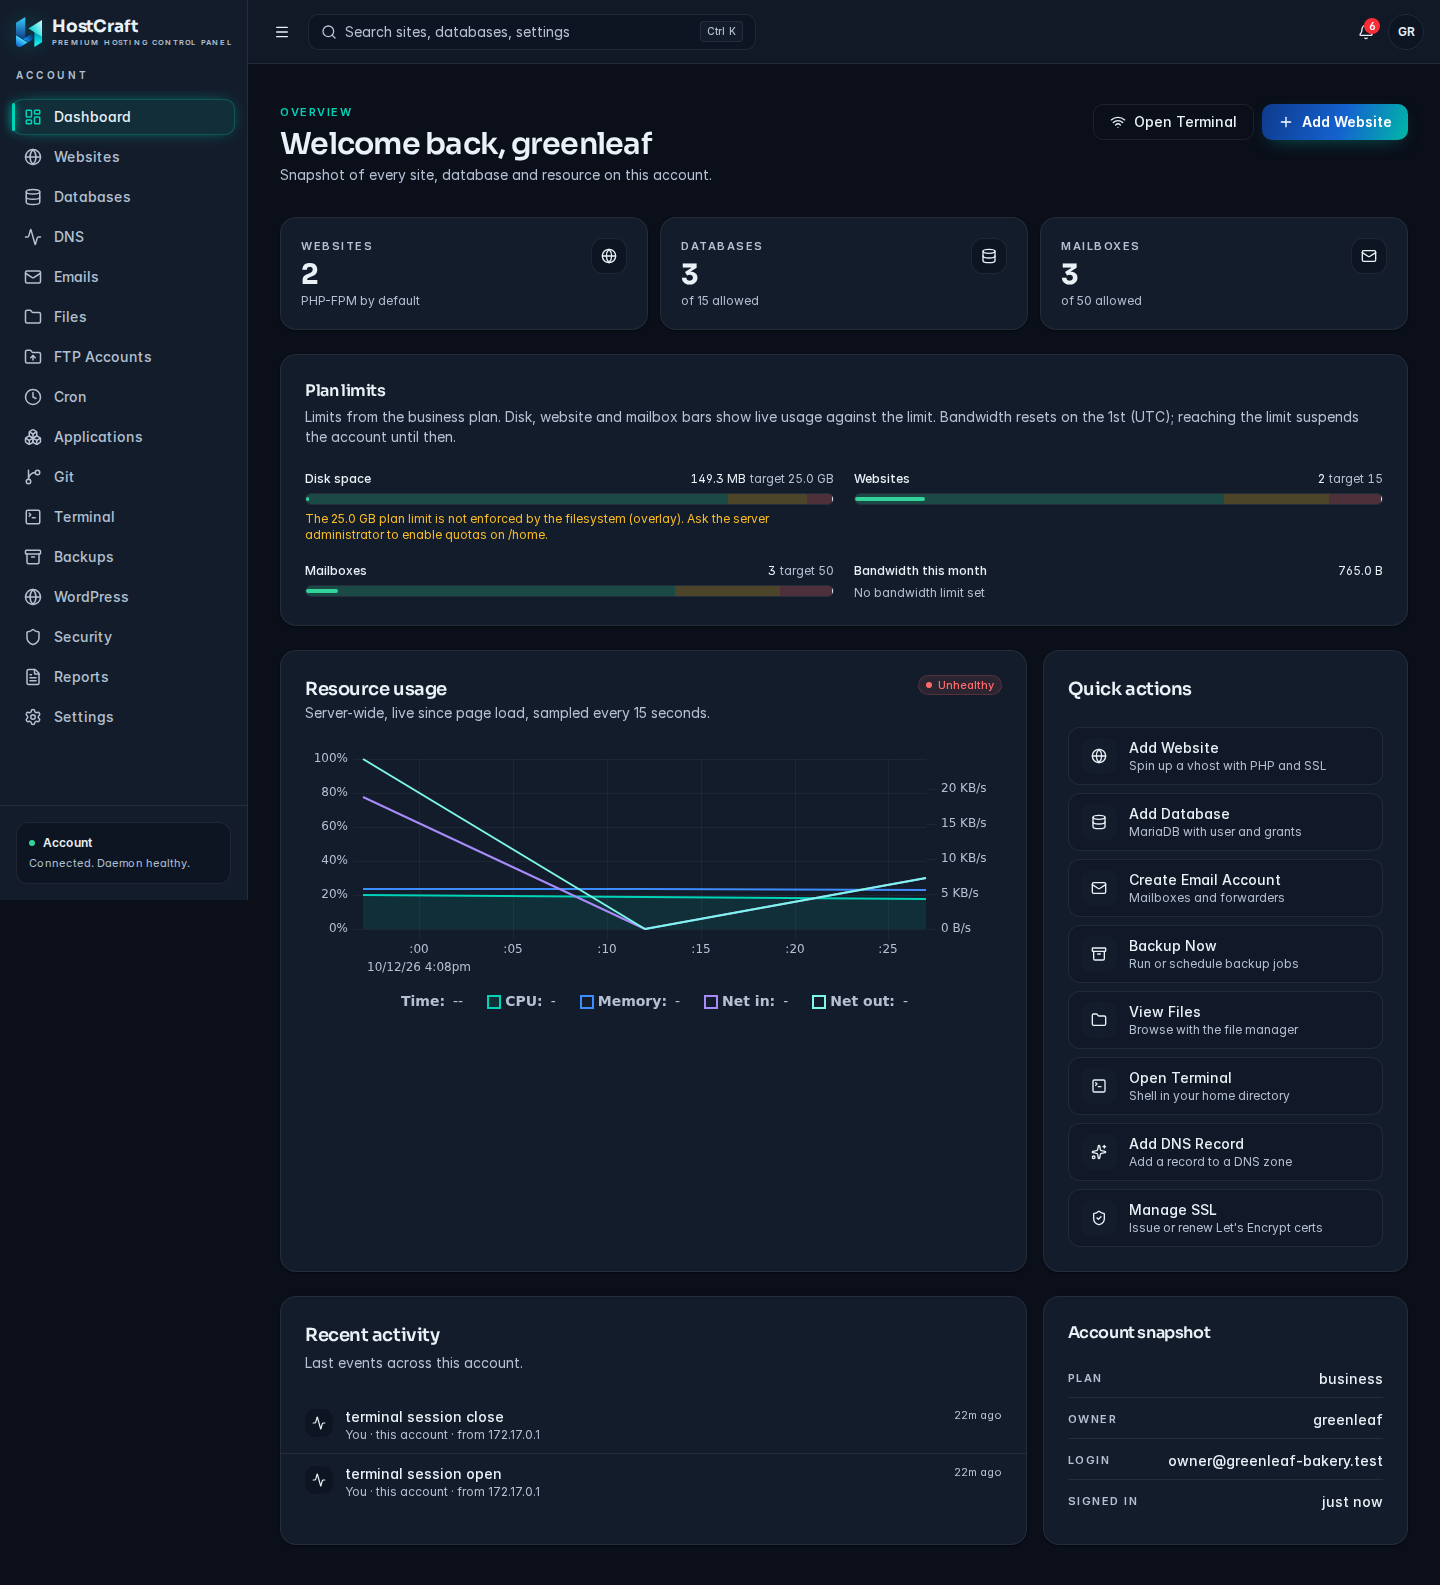
Section titled “The dashboard”Account owners and sub-users land on the Dashboard. It is a snapshot of every site, database and resource on the account. Server administrators and resellers have their own Overview pages, described in their sections of the docs.
Header buttons
Section titled “Header buttons”- Open Terminal takes you to the file area of your account.
- Add Website (shown unless you have read-only access) opens the Add a website dialog. See Websites.
Stat cards
Section titled “Stat cards”- Websites: the number of sites on the account, and how many run FrankenPHP (otherwise "PHP-FPM by default").
- Databases: the number of databases, and your plan allowance if one is set.
- Mailboxes: the number of mailboxes, and your plan allowance if one is set.
Plan limits
Section titled “Plan limits”This card compares your usage with the limits of your plan:
- Disk space, Websites and Mailboxes show live usage against the limit. If no limit is set, the card says so instead of drawing a bar.
- Bandwidth this month resets on the 1st of each month (UTC). Reaching the bandwidth limit suspends the account until the reset.
If you see "The plan limit is not enforced by the filesystem", the server cannot enforce your disk limit. Your usage is still measured; the server administrator needs to enable quotas on /home. "Disk usage is not available on this server." means the server cannot measure disk usage at all.
Resource usage
Section titled “Resource usage”A live chart of server-wide CPU and memory, sampled every 15 seconds from the moment you open the page. The badge at the top right shows overall server health: Healthy, Degraded or Unhealthy.
Quick actions
Section titled “Quick actions”Shortcuts to Add Website, Add Database, Create Email Account, Backup Now, View Files, Open Terminal, Add DNS Record and Manage SSL. Sub-users only see the shortcuts their permissions allow.
Recent activity and account snapshot
Section titled “Recent activity and account snapshot”Recent activity lists the latest events on the account, such as terminal sessions or new mailboxes, with who did it (You, Another user or System), what it applied to and the address it came from. Account snapshot shows your Plan, Owner, Login email, and when this session Signed in.
Read-only sub-users
Section titled “Read-only sub-users”If the owner gave you the read-only support preset, the dashboard shows a Read-only notice: "Your sub-user preset is read-only support. Mutating actions are disabled." The sidebar card also says Read-only access. You can look around but not change anything.
Roles at a glance
Section titled “Roles at a glance”HostCraft has six roles: super admin, server admin, reseller, account owner, sub-user and mailbox user. Each one sees only what it is allowed to manage, and the server enforces this on every request, not just in the menu.
- An account owner controls one hosting account and can add sub-users with a preset or custom set of permissions (see Settings).
- A reseller manages a pool of accounts for their own customers.
- A mailbox user signs in with an email address and password to manage just that mailbox.
The full list of roles and permissions is in Roles and access control.
Securing your account
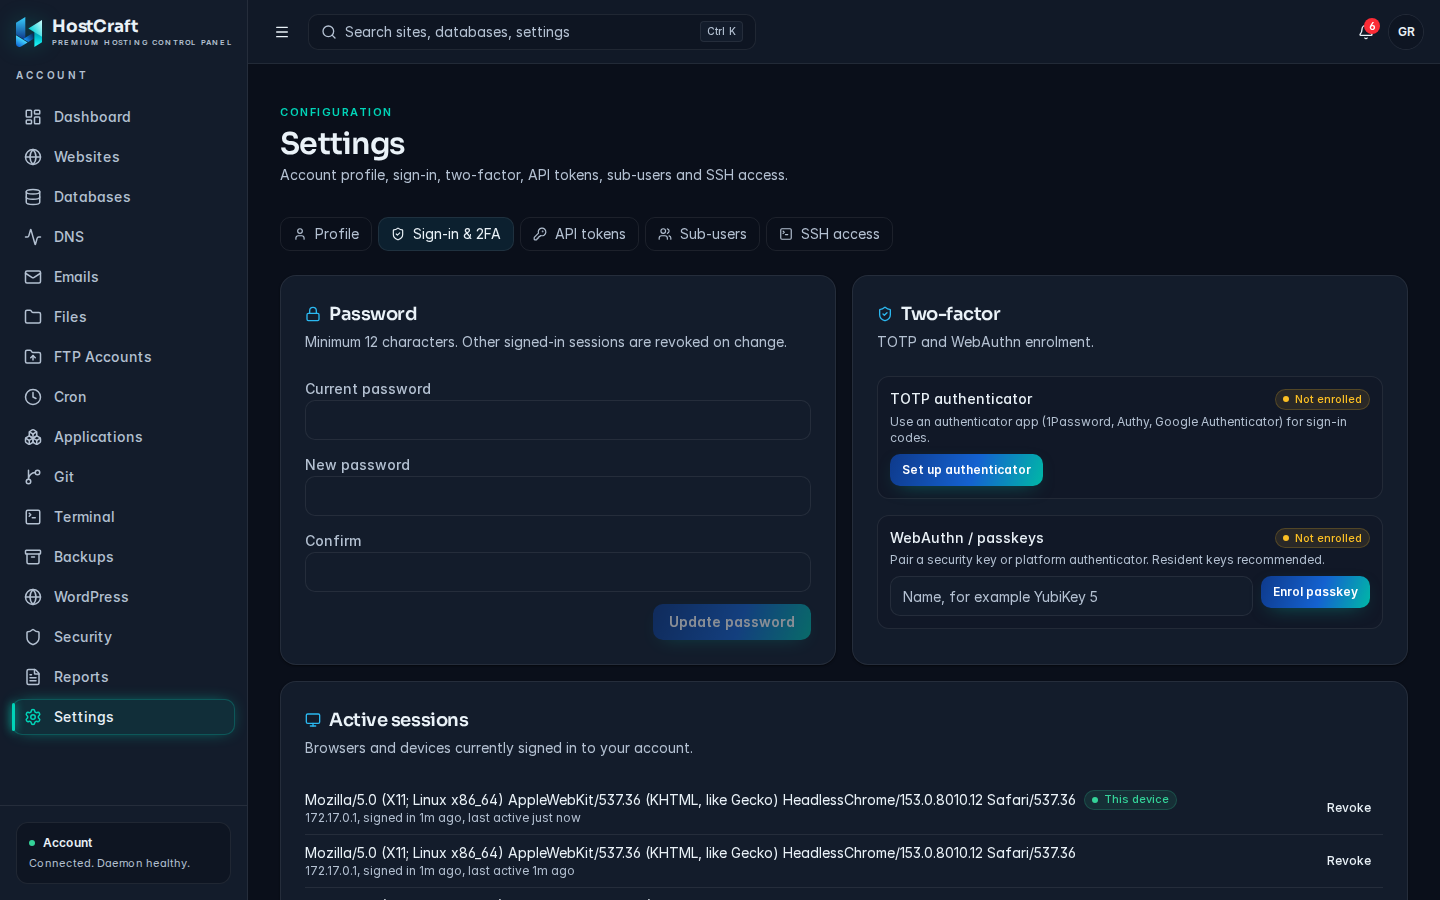
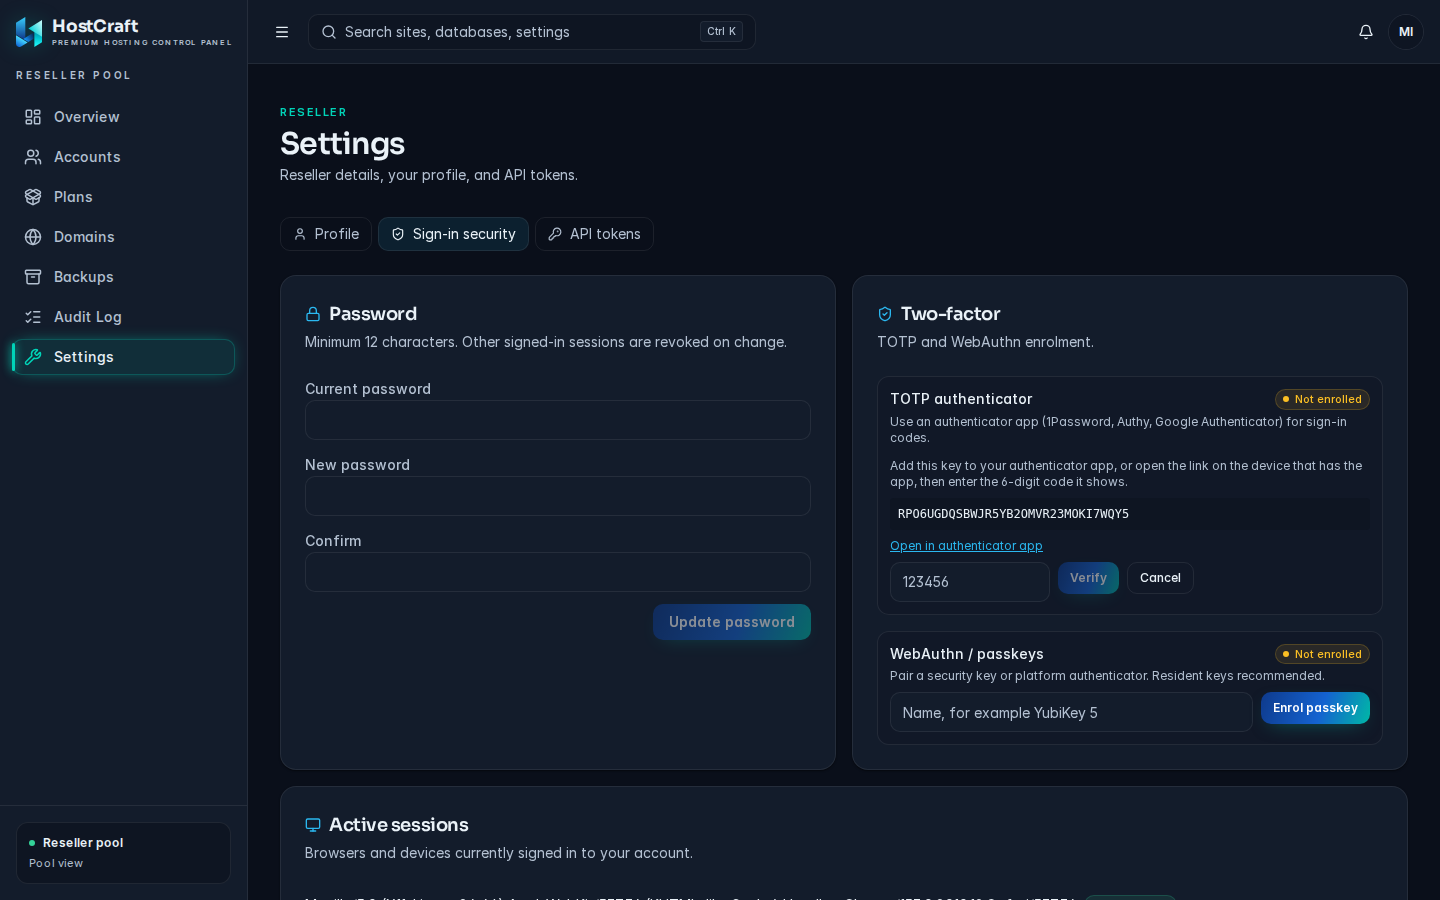
Section titled “Securing your account”Do this right after your first sign-in. Open Settings and select the Sign-in & 2FA tab. Resellers use the Sign-in security tab of their Settings page, and server administrators use the Your sign-in tab of the server Settings page. The cards on these tabs are the same.
Change your password
Section titled “Change your password”- In the Password card, enter your Current password.
- Enter a New password of at least 12 characters, and type it again in Confirm.
- Click Update password. The button stays disabled until all fields are valid.
You see "Password updated. Your other sessions were signed out." Every other browser and device signed in to your account is signed out.
Messages you may see: Use at least 12 characters. and Passwords do not match. If the current password is wrong, the change is refused with an error.
Set up an authenticator app (TOTP)
Section titled “Set up an authenticator app (TOTP)”Works with any standard authenticator app, such as 1Password, Authy, Google Authenticator or Bitwarden.
- In the Two-factor card, under the authenticator section (badge Not enrolled), click Set up authenticator.
- Add the key shown to your authenticator app. On the device that has the app, you can click Open in authenticator app instead.
- Enter the 6-digit code from the app and click Verify.
- Your recovery codes appear. Click Copy and store them somewhere safe, then click Done. They are shown only once, and each code works once.
The badge changes to Enrolled. From now on, sign-in asks for a code.
If you see "That code was not accepted.", check that your phone's time is set automatically and enter the current code.
To replace your recovery codes, click New recovery codes. Your old codes stop working immediately. To stop using the app, click Remove and confirm. If the panel says "Identity confirmation is required to remove the authenticator.", sign out, sign back in with your second factor, and try again.
Add a passkey or security key (WebAuthn)
Section titled “Add a passkey or security key (WebAuthn)”A passkey is the most phishing-resistant option. It is stored on your device, not the server.
- In the WebAuthn / passkeys section, optionally type a name in the name field (for example "YubiKey 5" or "Work laptop").
- Click Enrol passkey and follow your browser prompt.
- You see "Passkey registered." and the passkey appears in the list with when it was added and last used.
You can enrol several passkeys, for example one per device. To remove one, click its remove button. If the section says "This browser cannot register passkeys. Use a current browser over HTTPS.", switch to an up-to-date browser and make sure the panel address starts with https://.
Review where you are signed in
Section titled “Review where you are signed in”The Active sessions card lists each browser and device signed in to your account, with its IP address, country, sign-in time and last activity. This device marks the session you are using.
- Click Revoke next to a session and confirm to sign that device out. Revoking your own session signs you out.
- Click Sign out everywhere and confirm to sign out every session, including this one.
If you see a session you do not recognise, revoke it and change your password straight away.
Your profile
Section titled “Your profile”The Profile tab in Settings controls how your name appears in the panel and in the audit log.
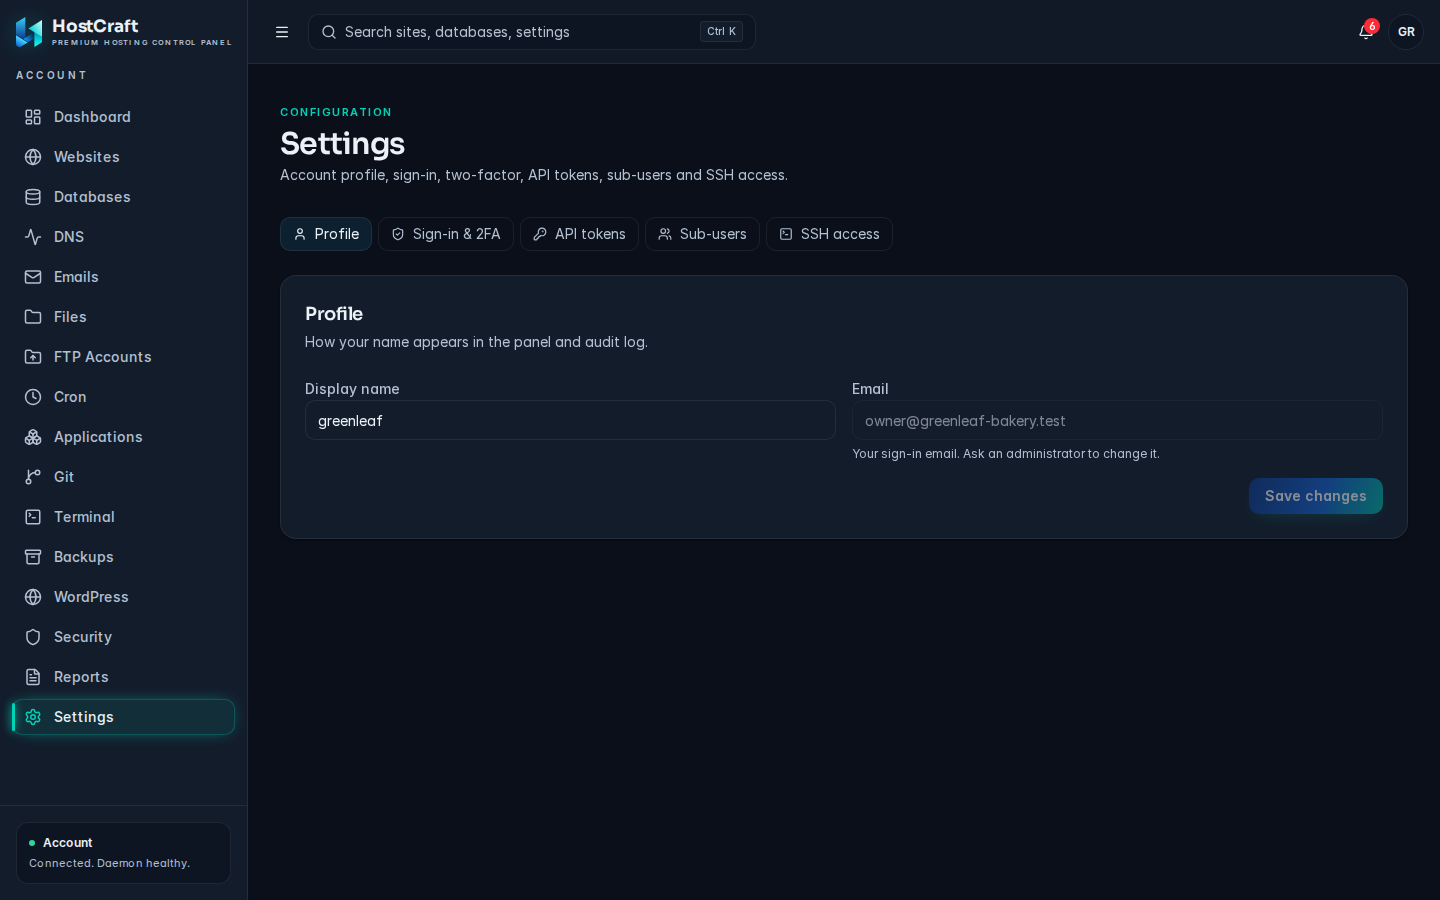
- Edit Display name (up to 128 characters).
- Click Save changes. You see "Profile saved."
Email is your sign-in email and cannot be changed here. Ask your administrator or hosting provider to change it.
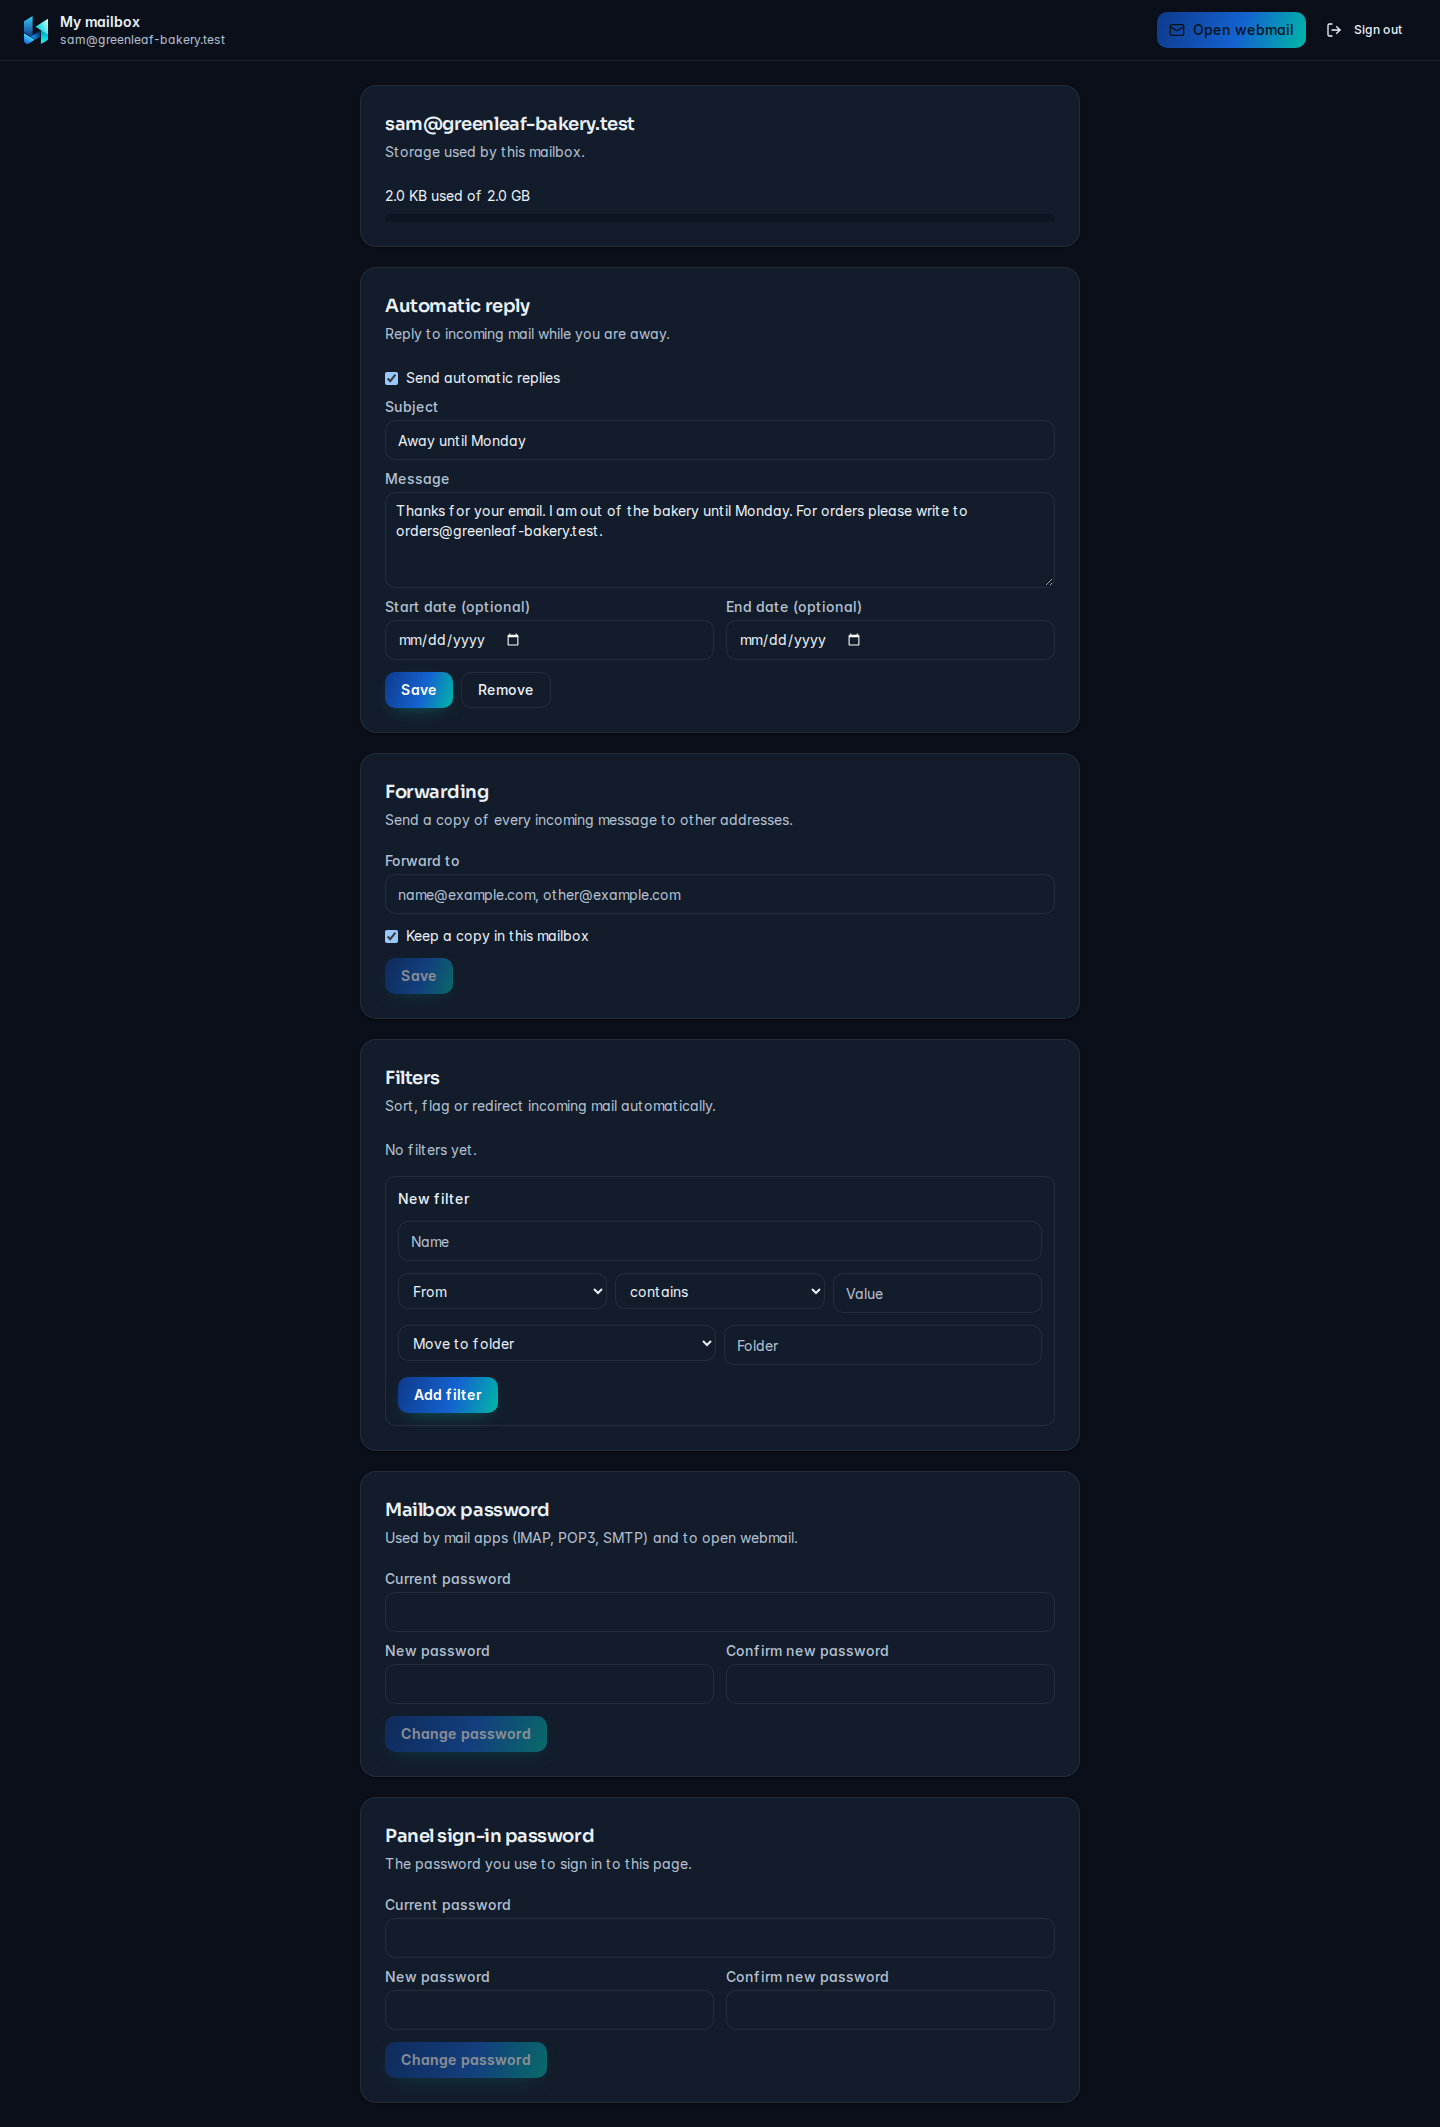
Mailbox users manage their password from My mailbox instead. See Email.
Signing out
Section titled “Signing out”Click your initials at the top right and choose Sign out.